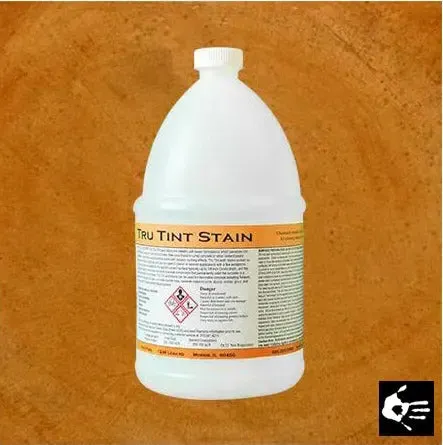
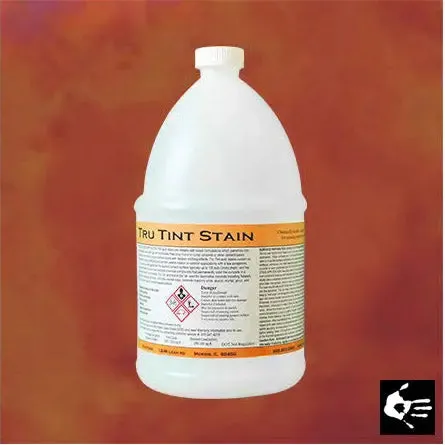
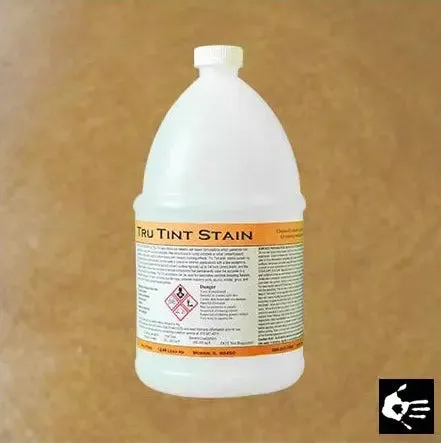
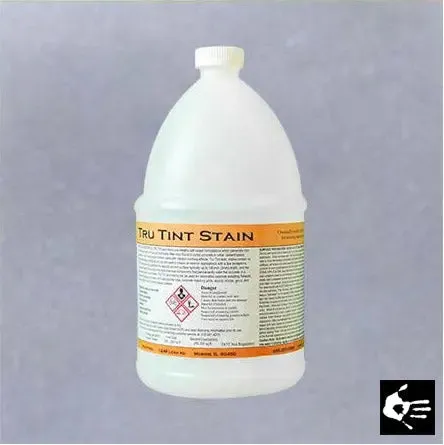
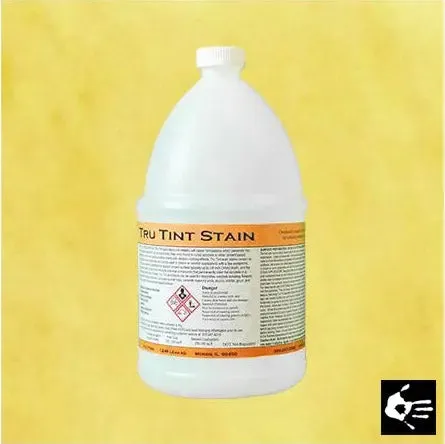
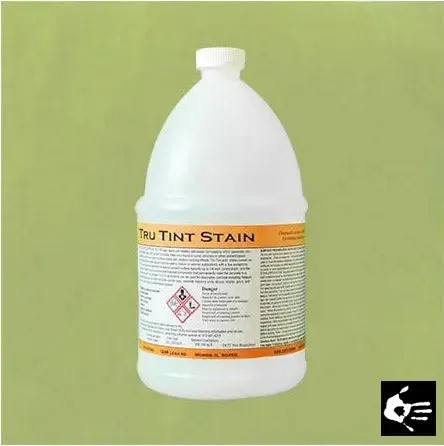
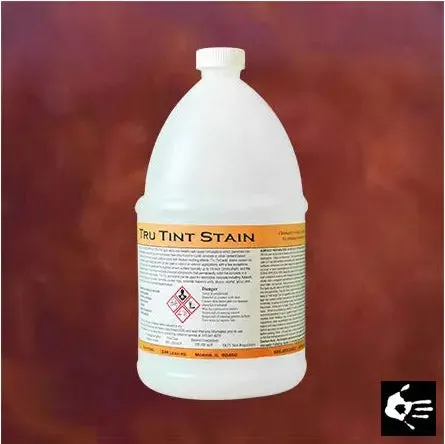
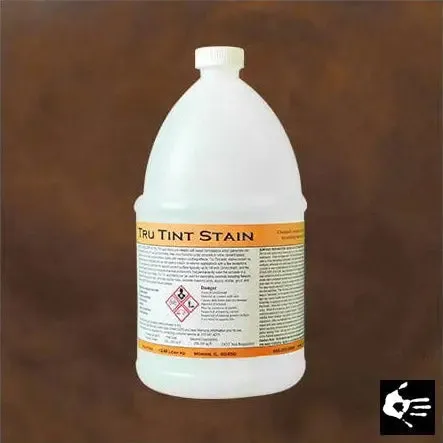
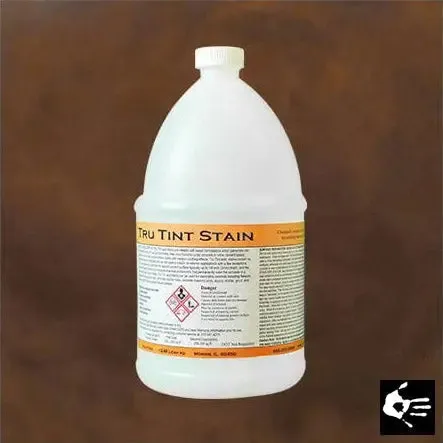
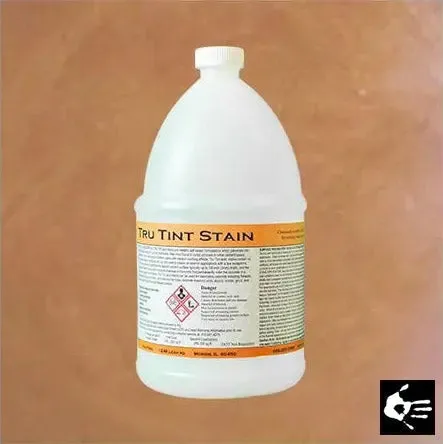
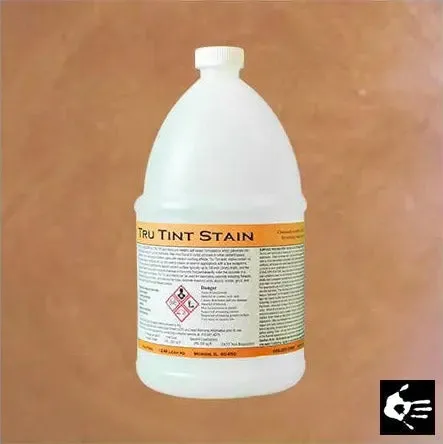
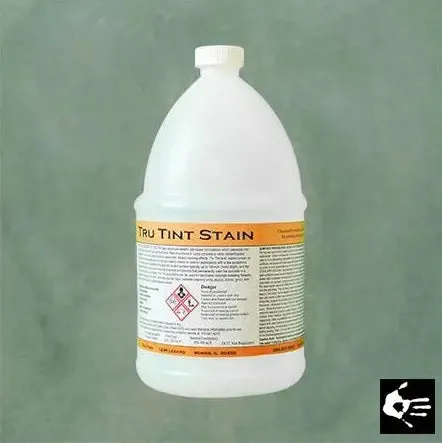
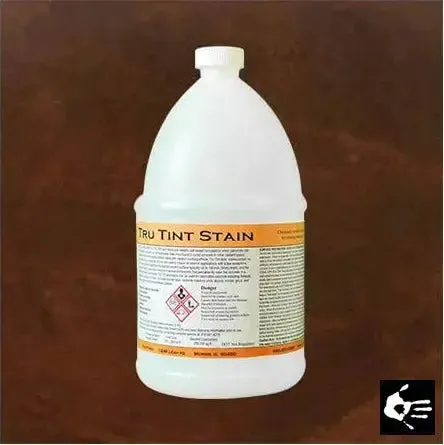
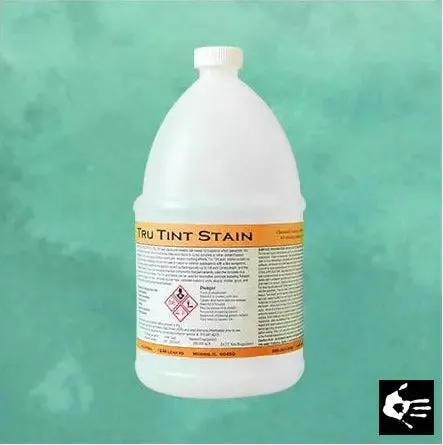
Acid Stain for Concrete - Tru Tint (4oz Sample Bottles)
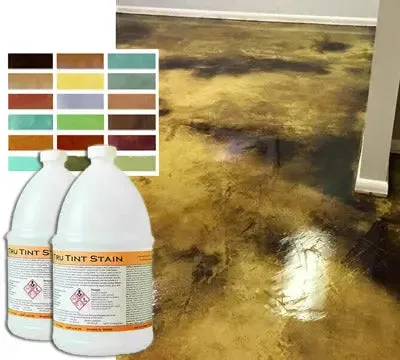
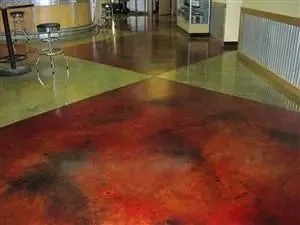
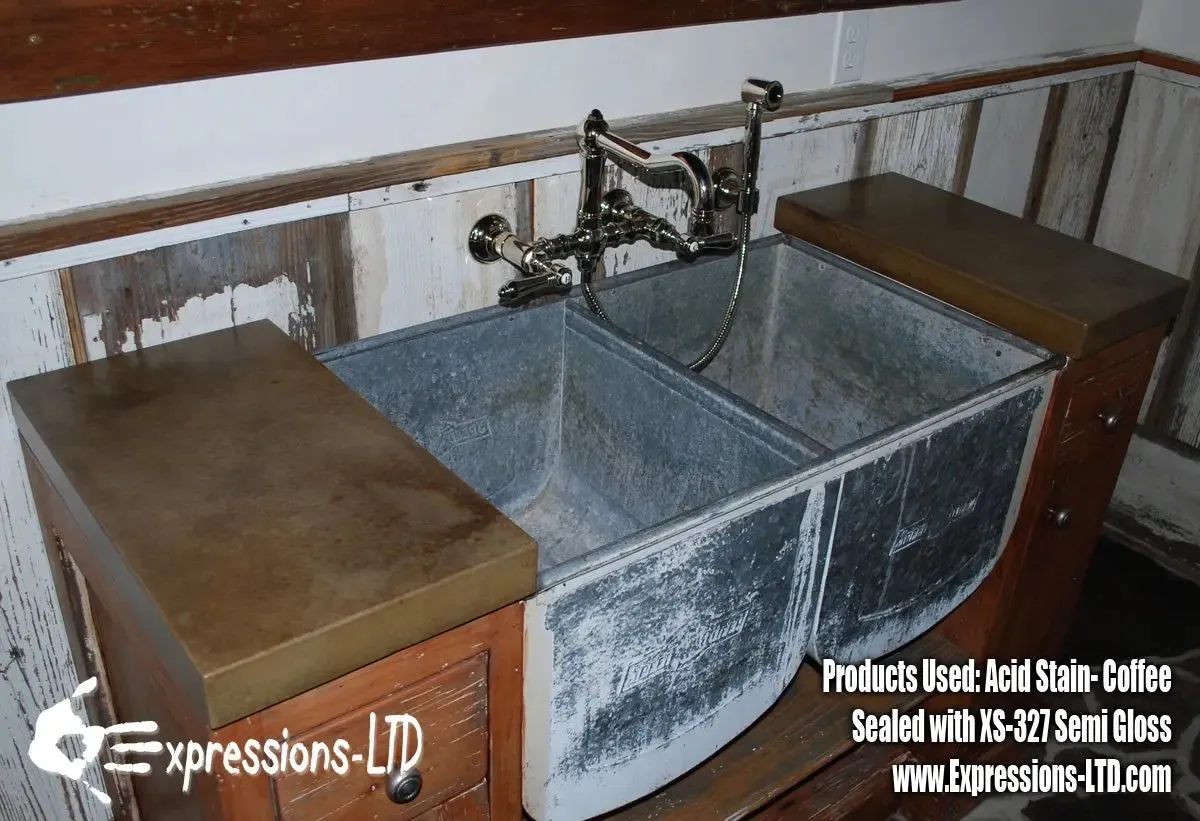
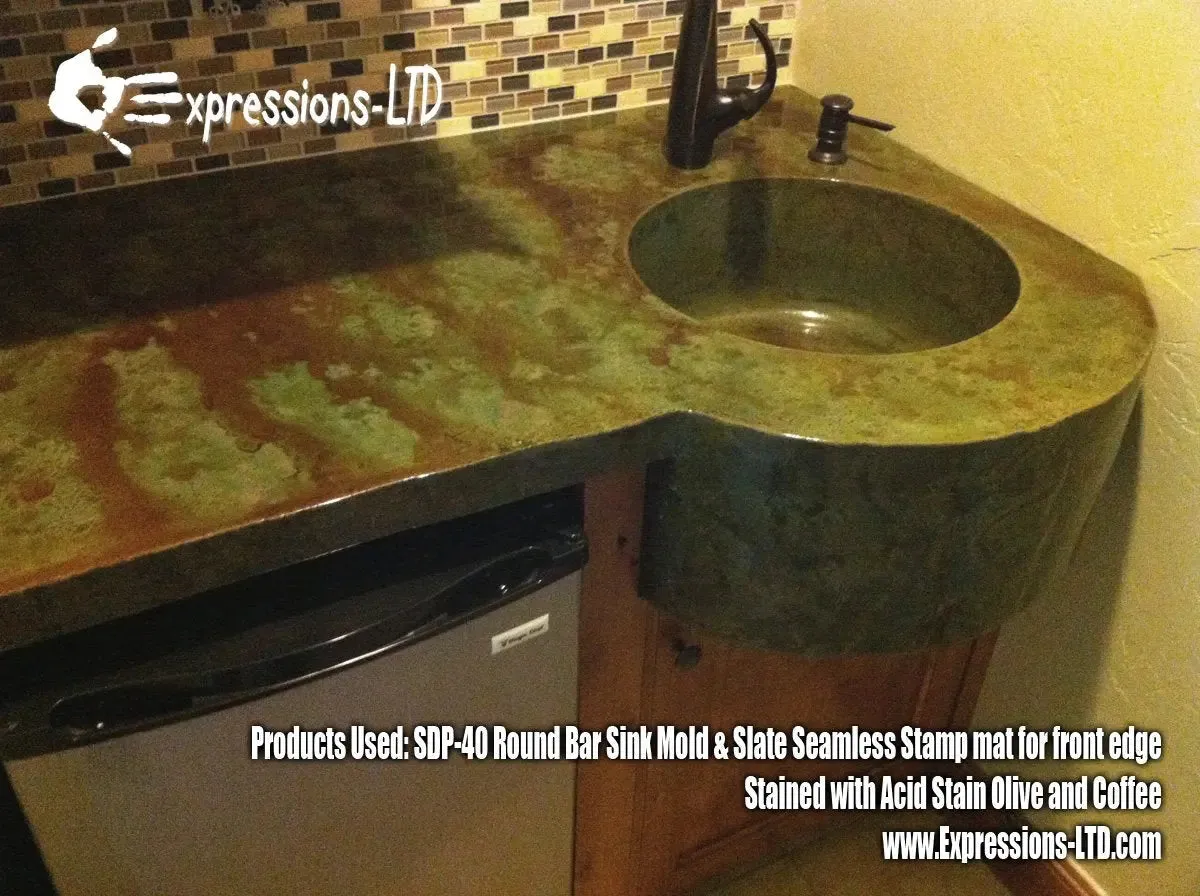
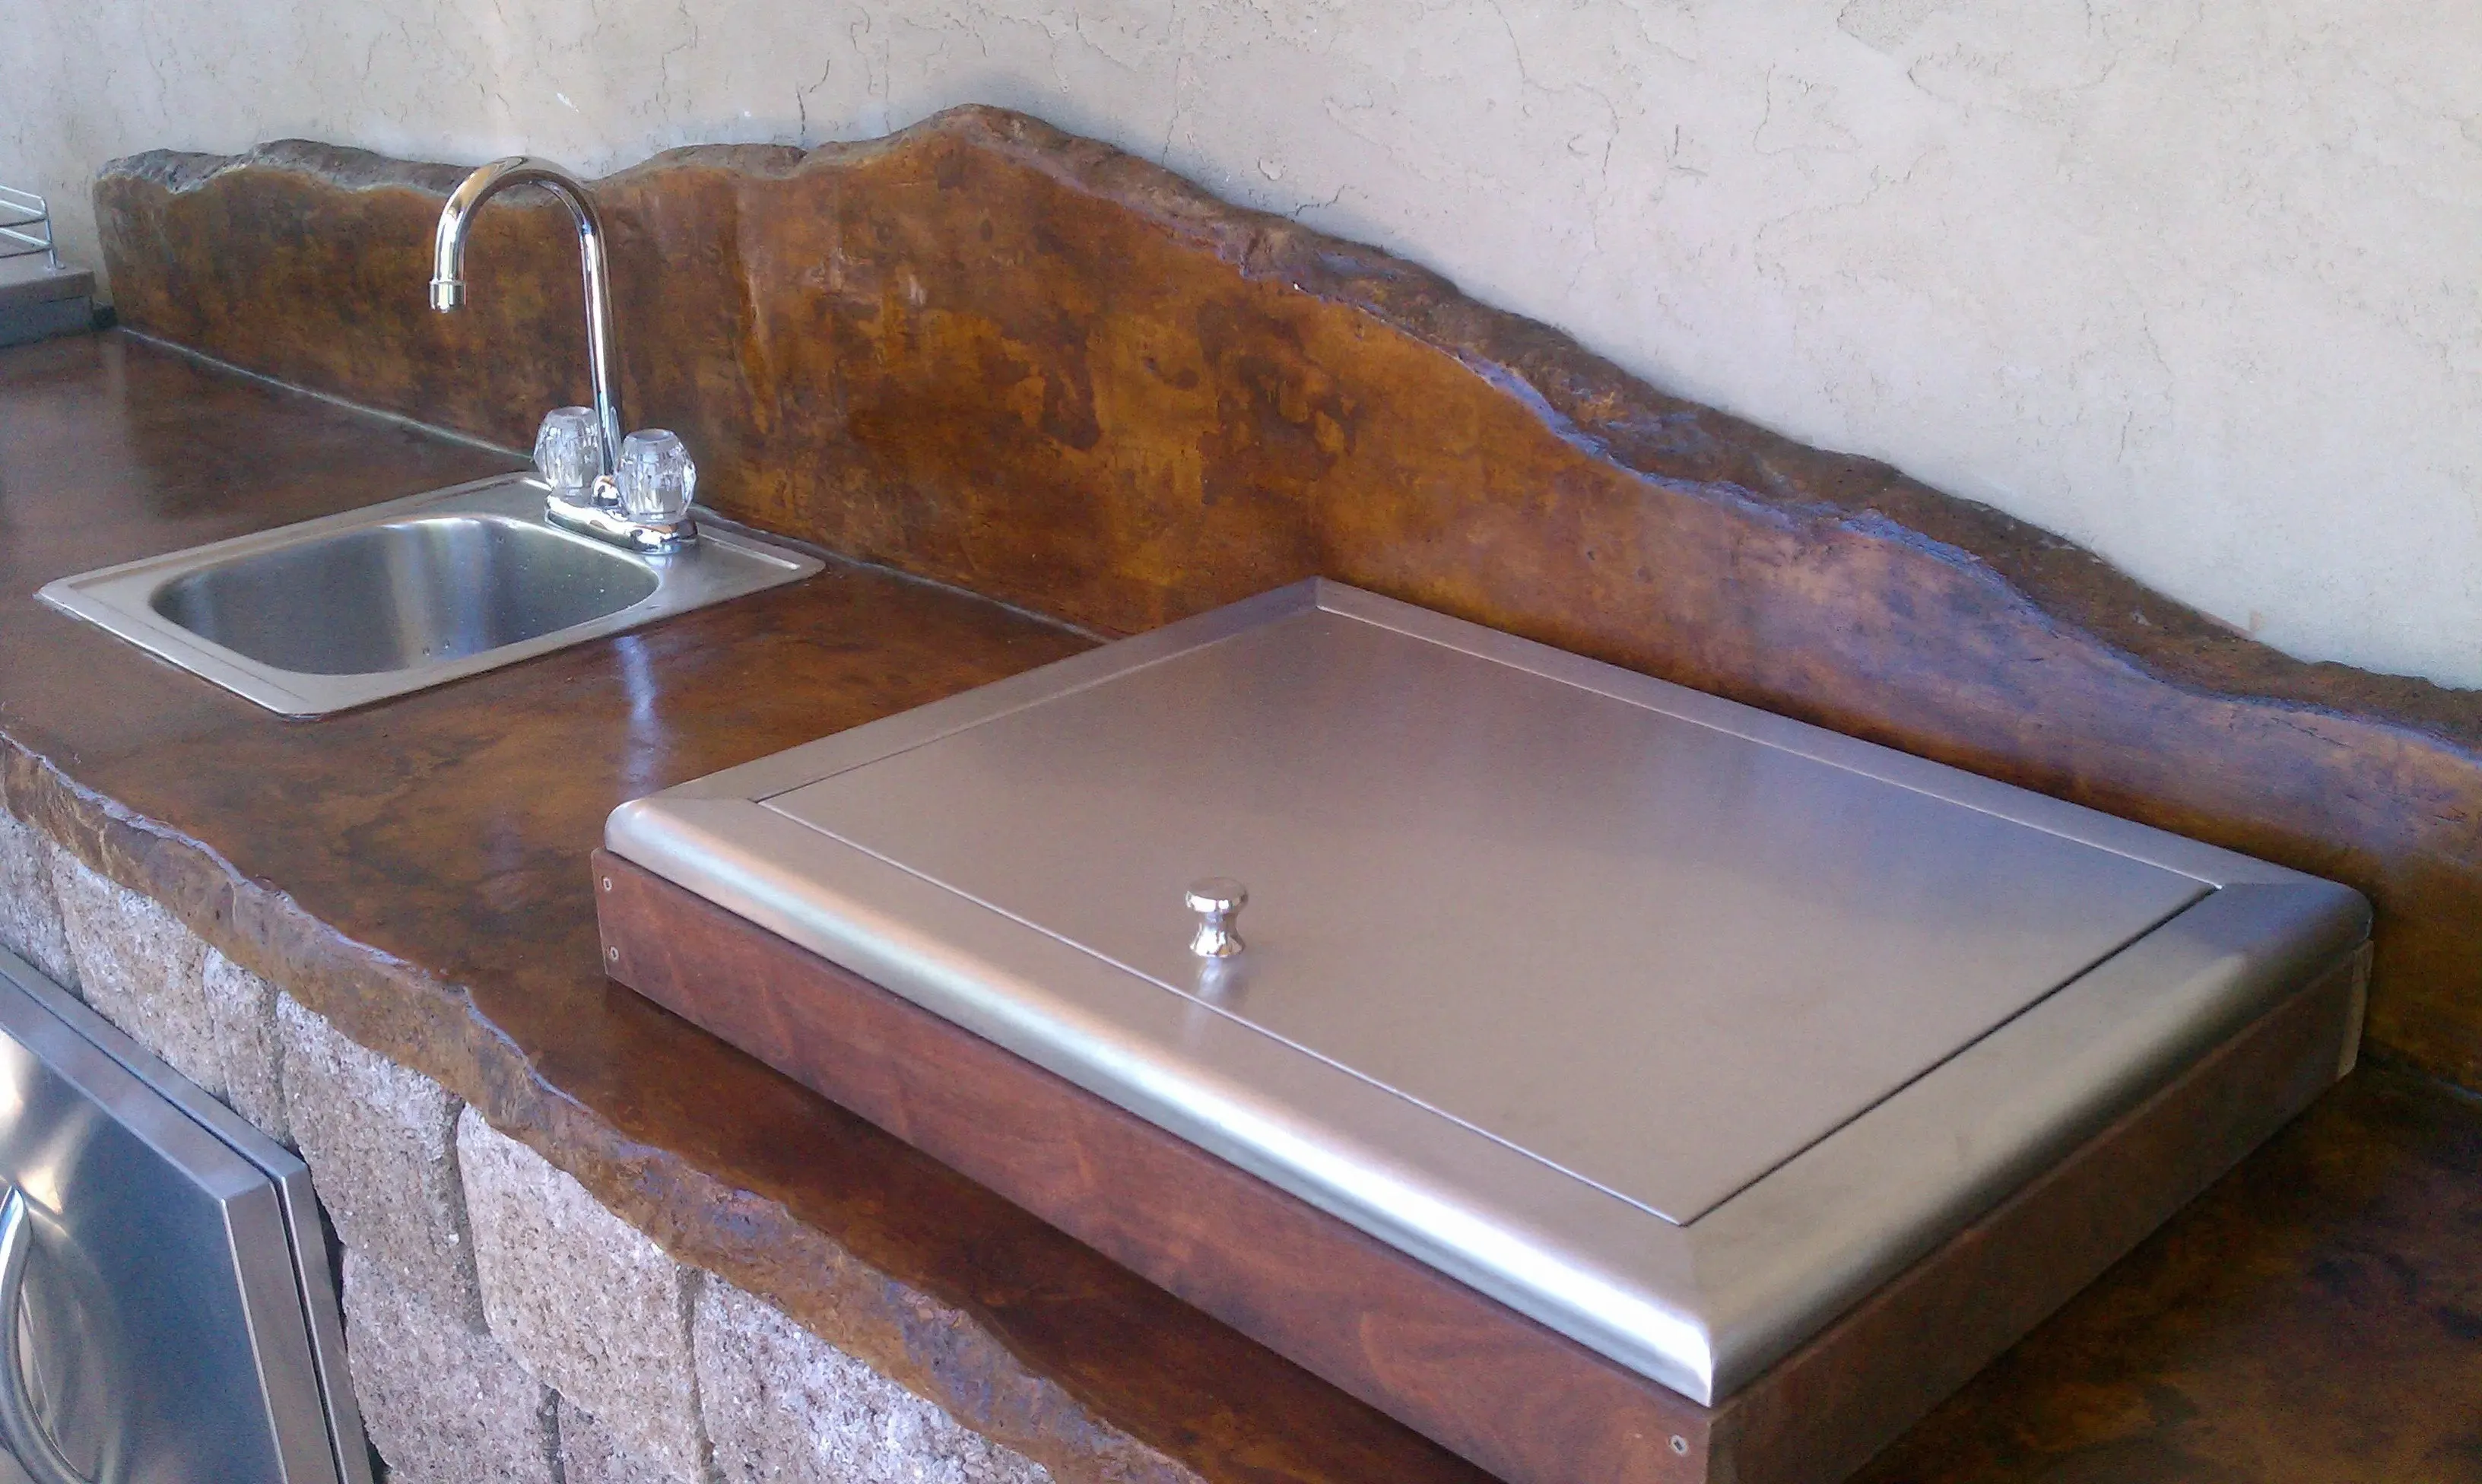
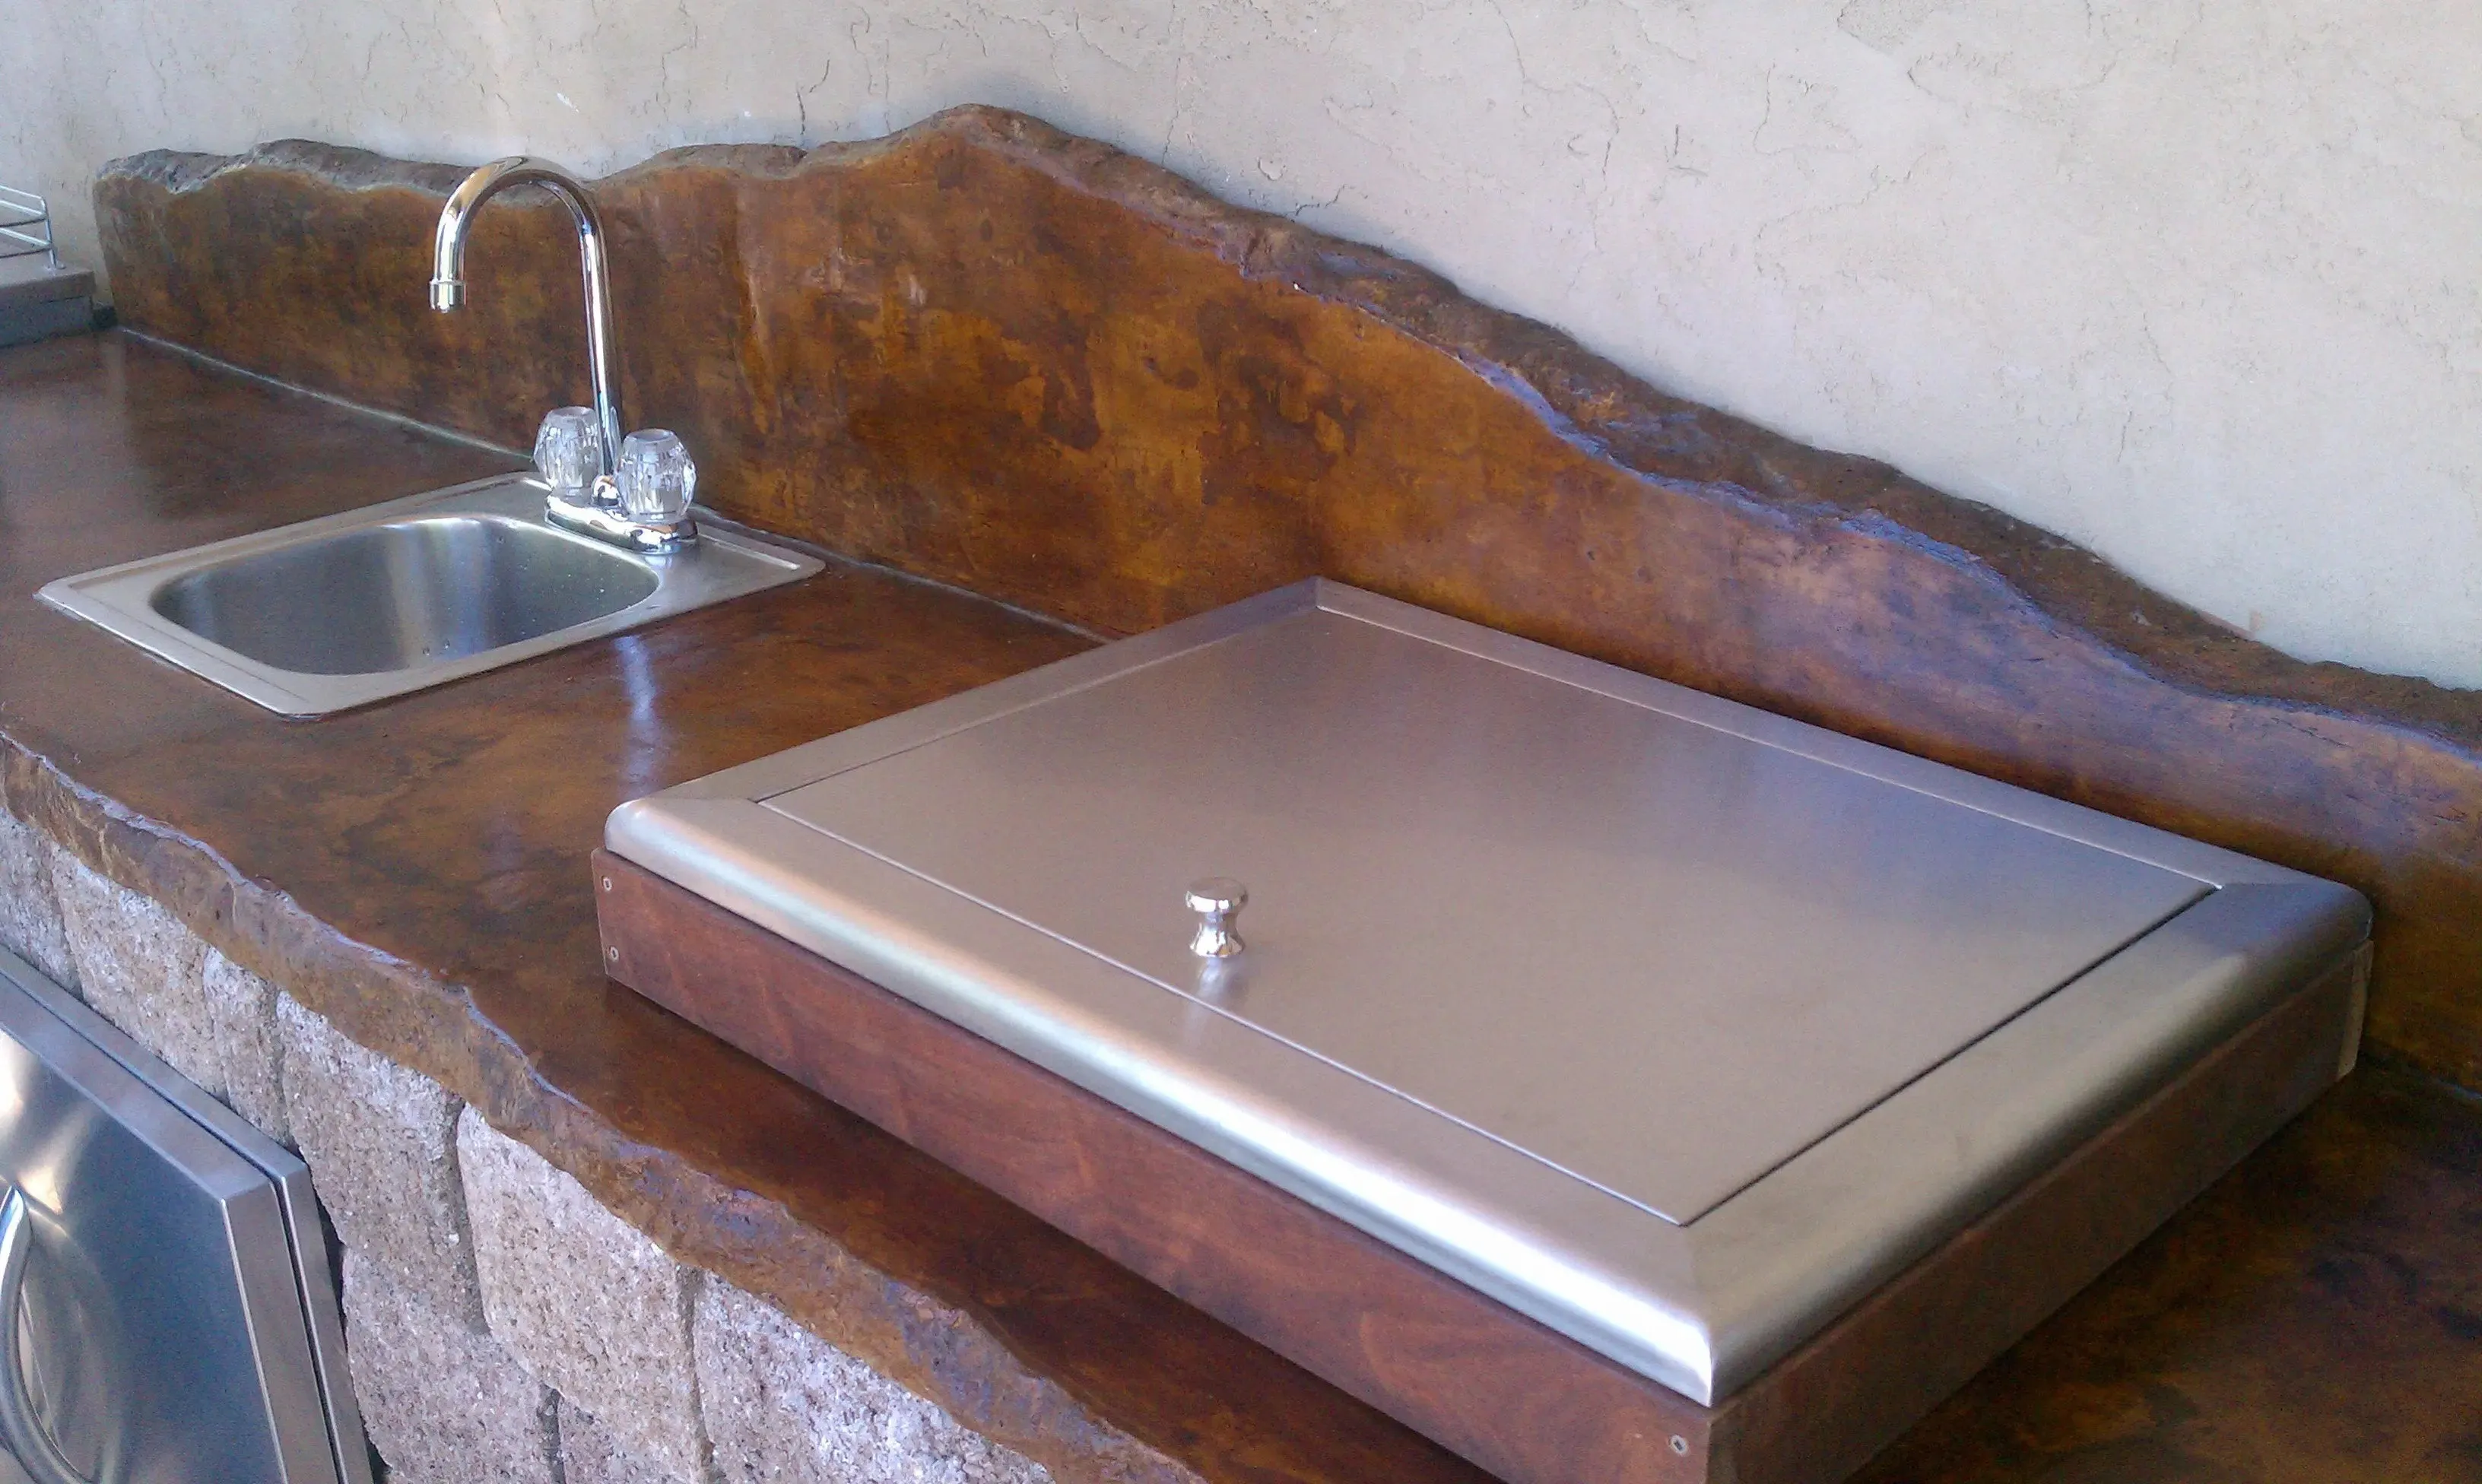
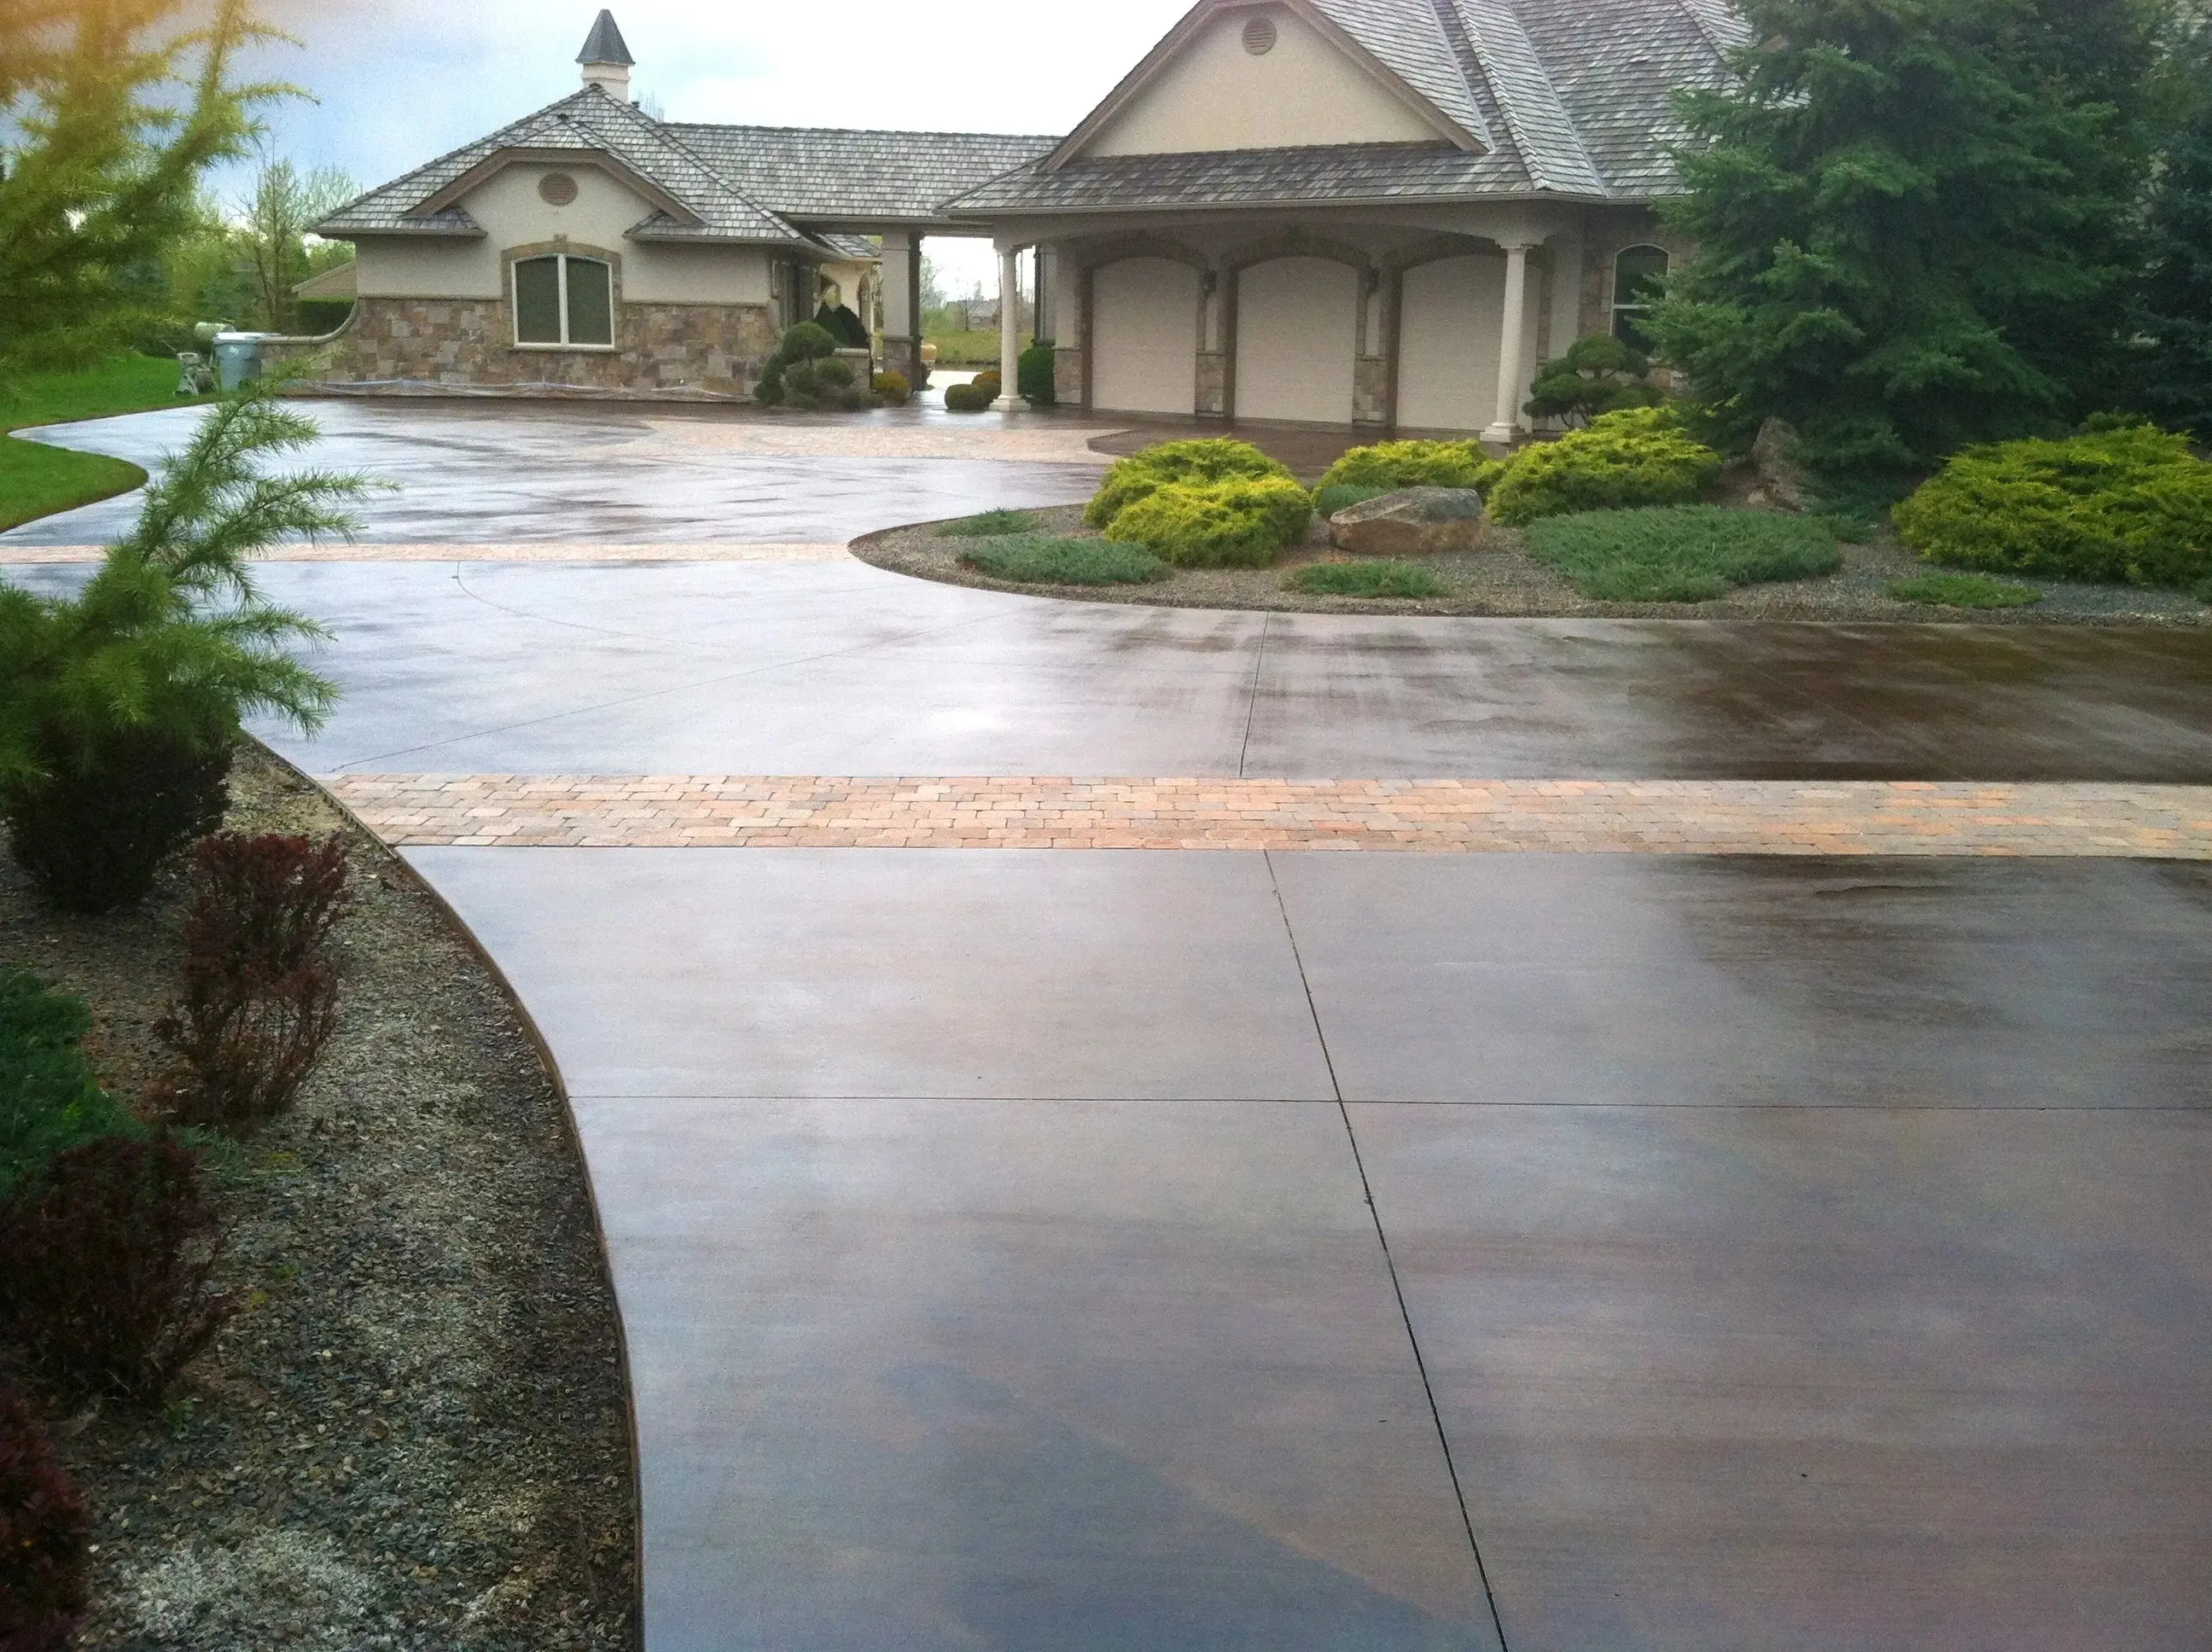
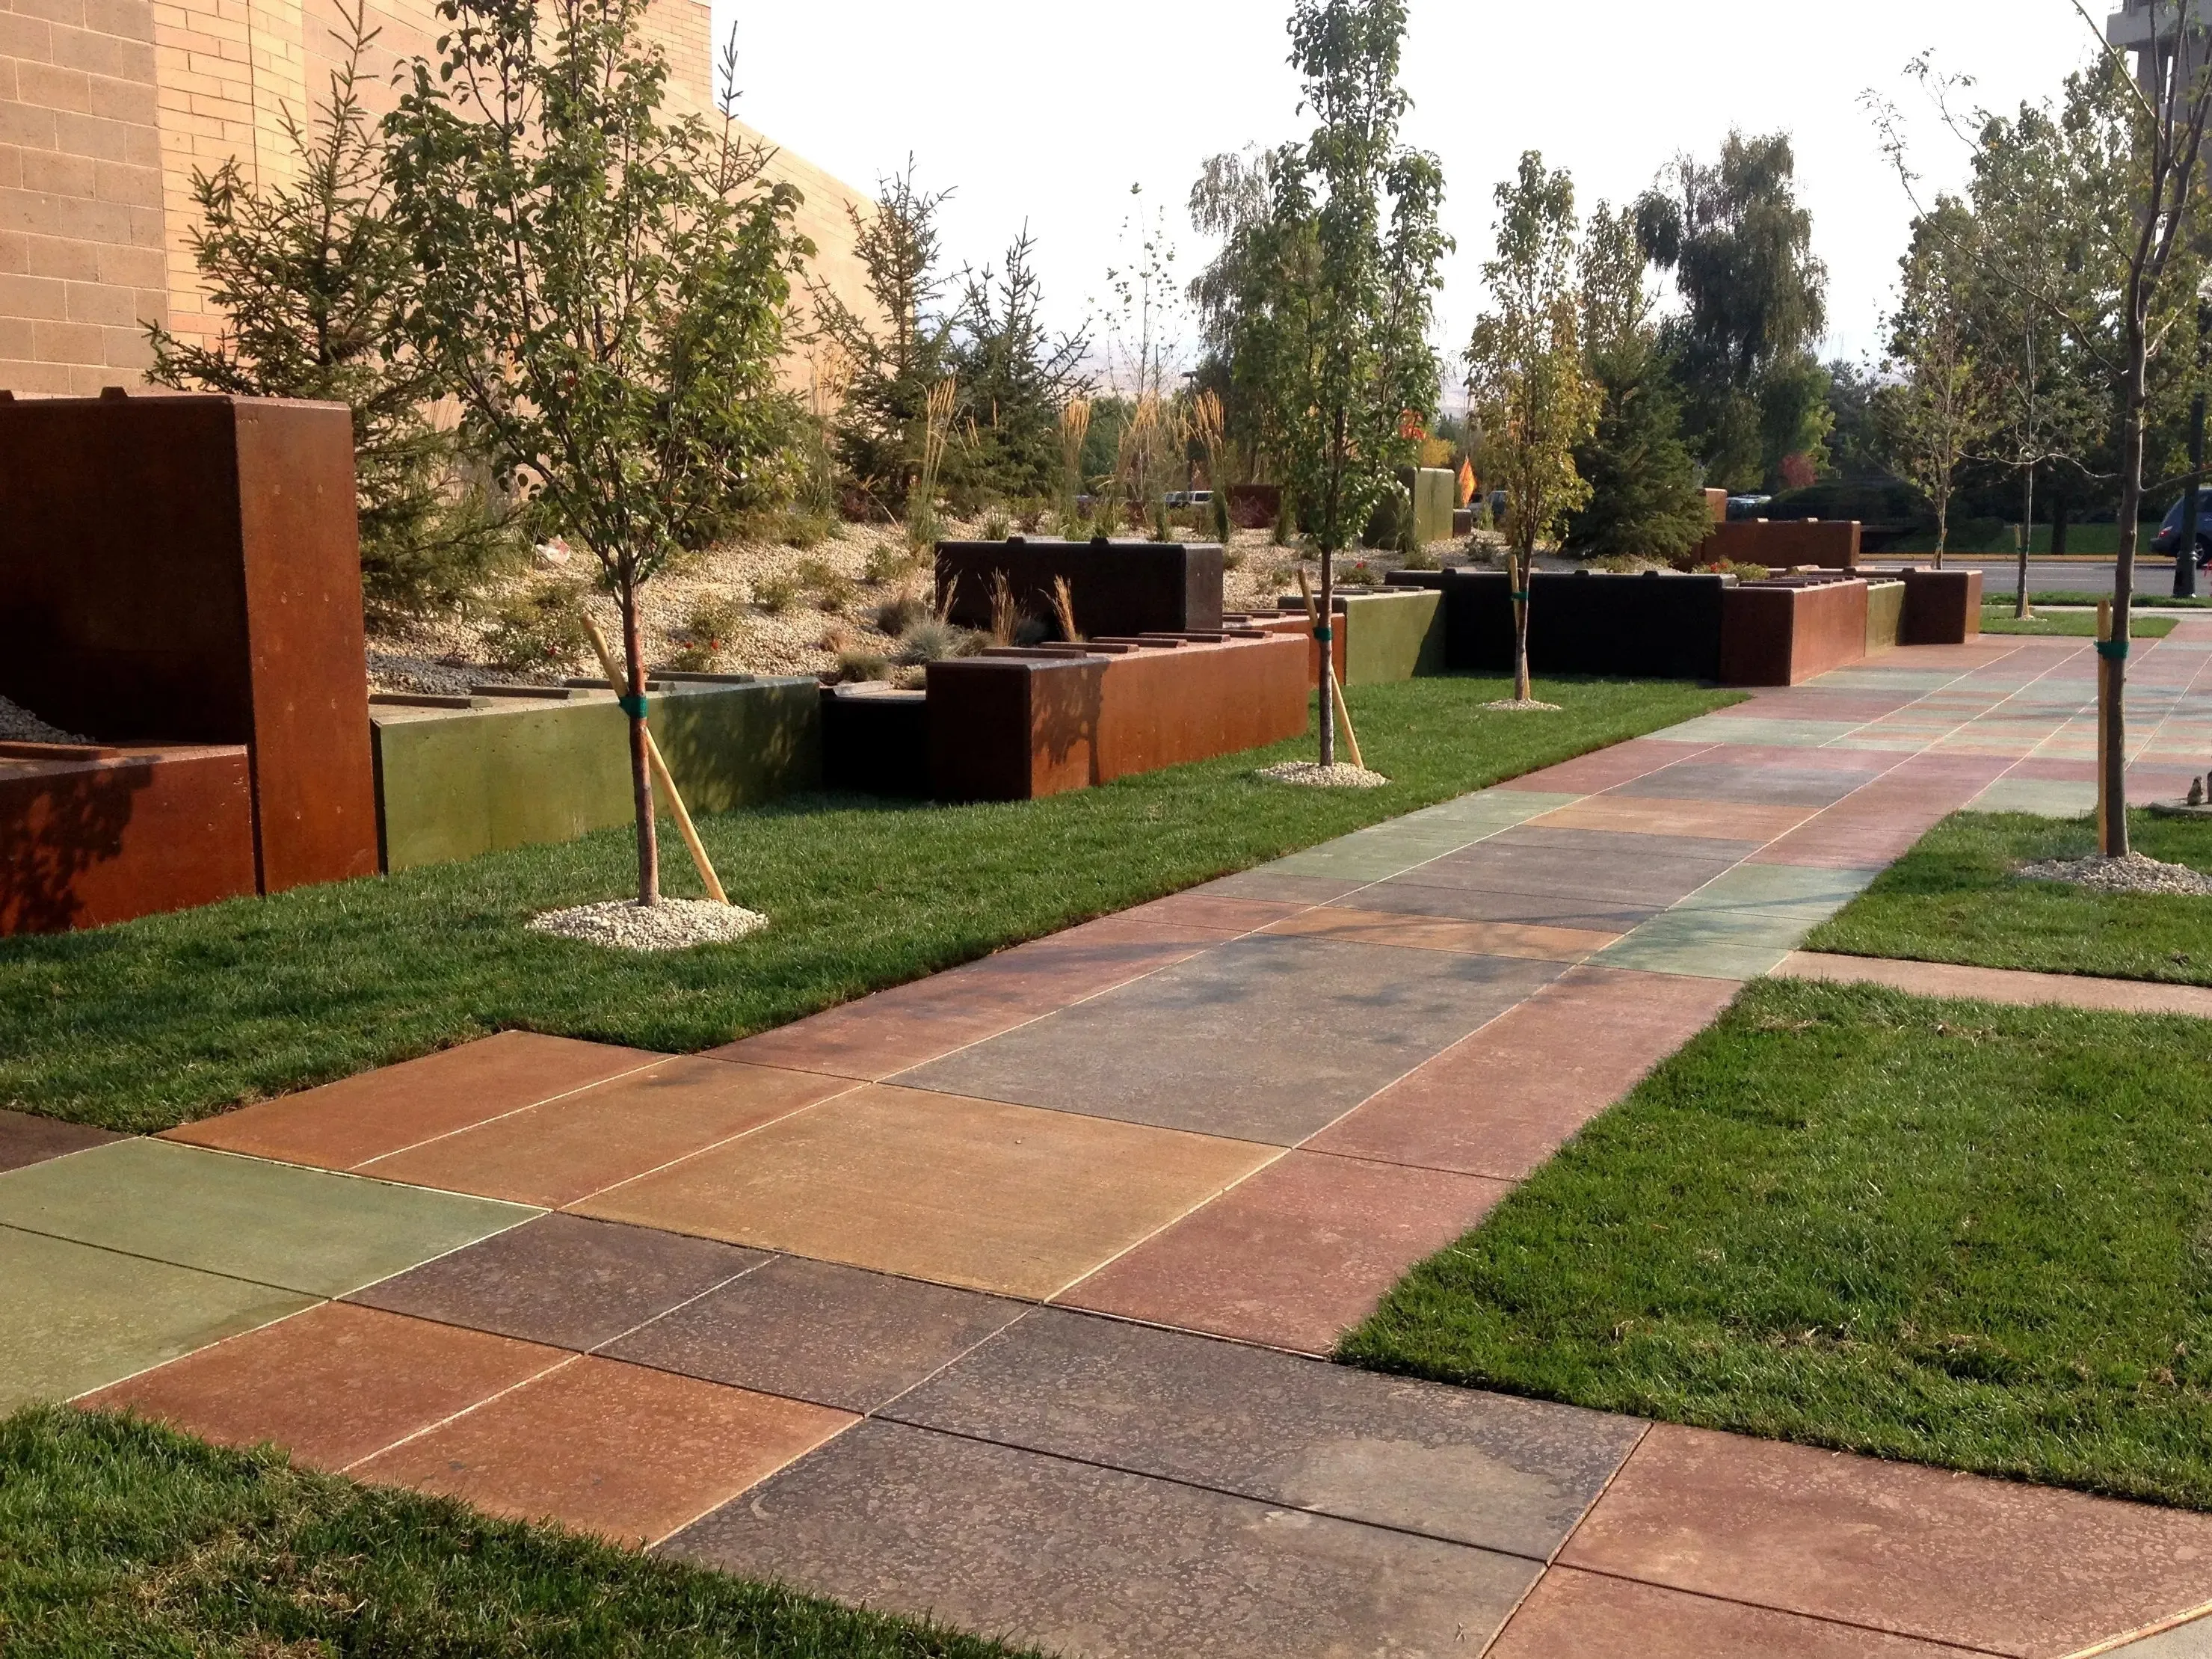
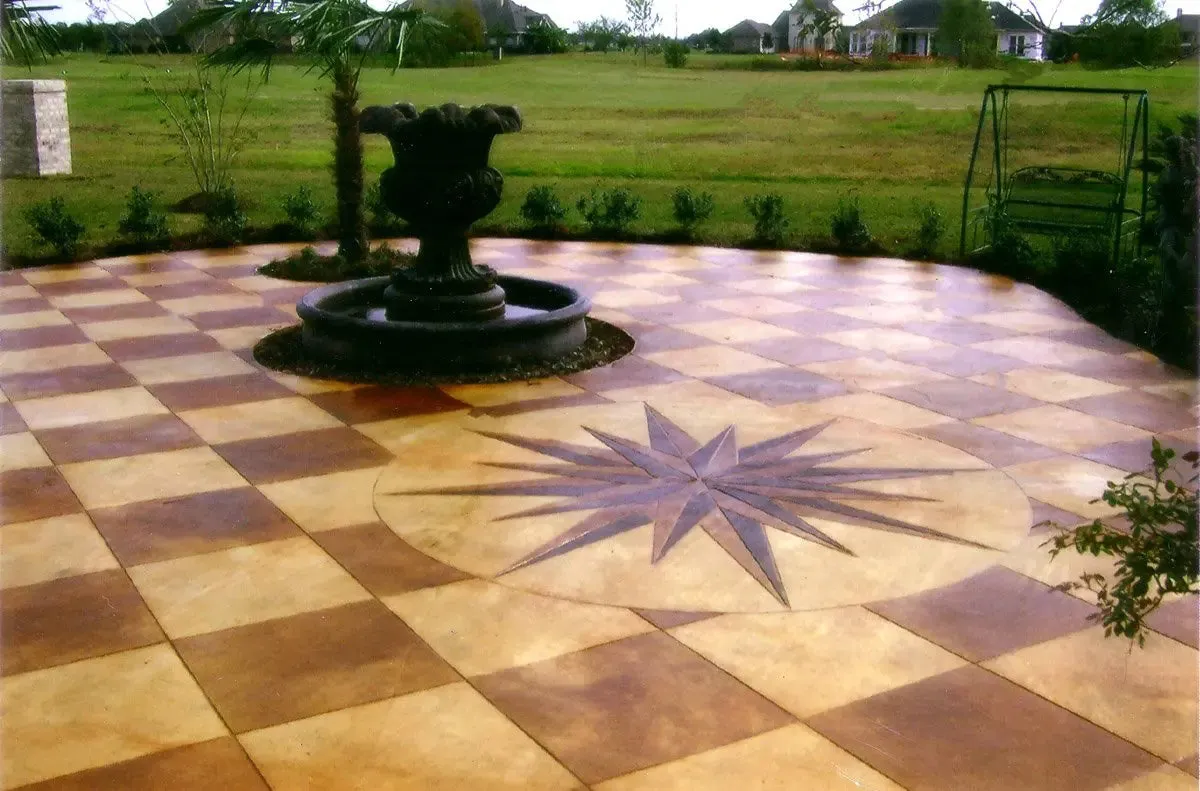
Tru Tint Concrete Acid Stains produce the most natural, realistic, tones possible.
- Staining occurs via chemical reaction- much more permanent than surface coloring.
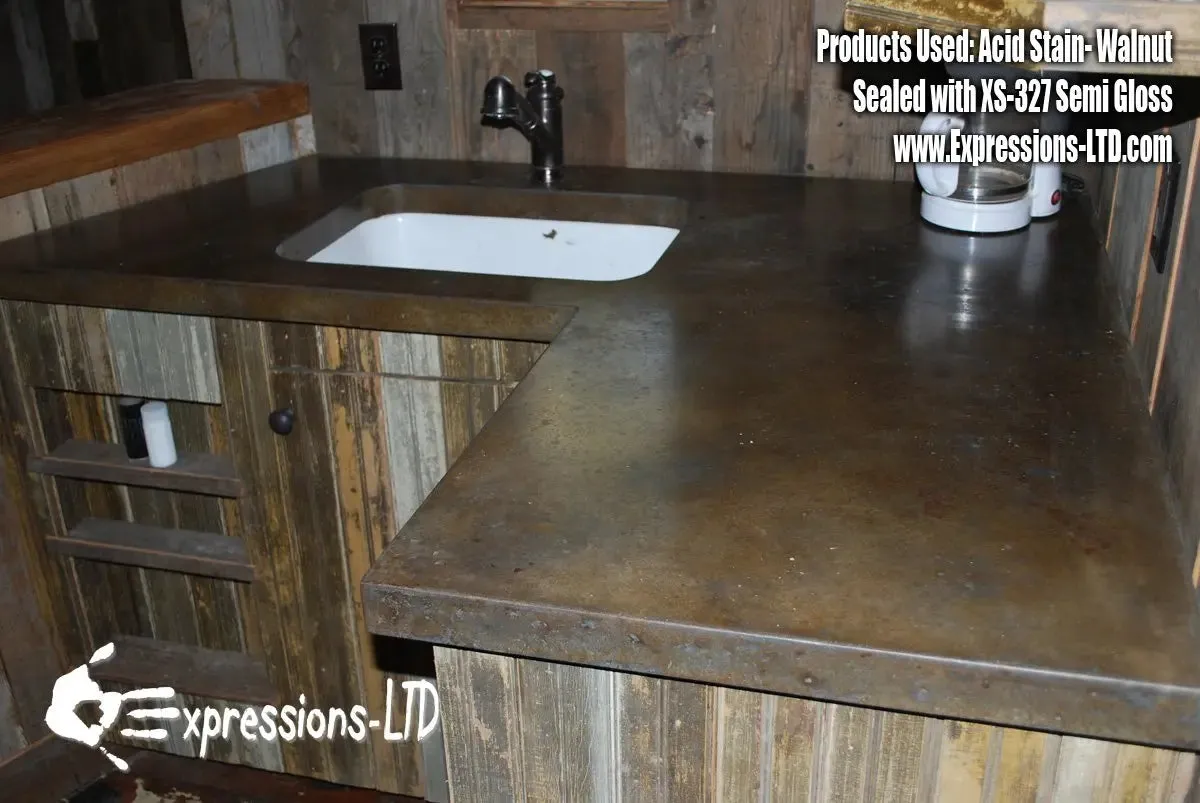
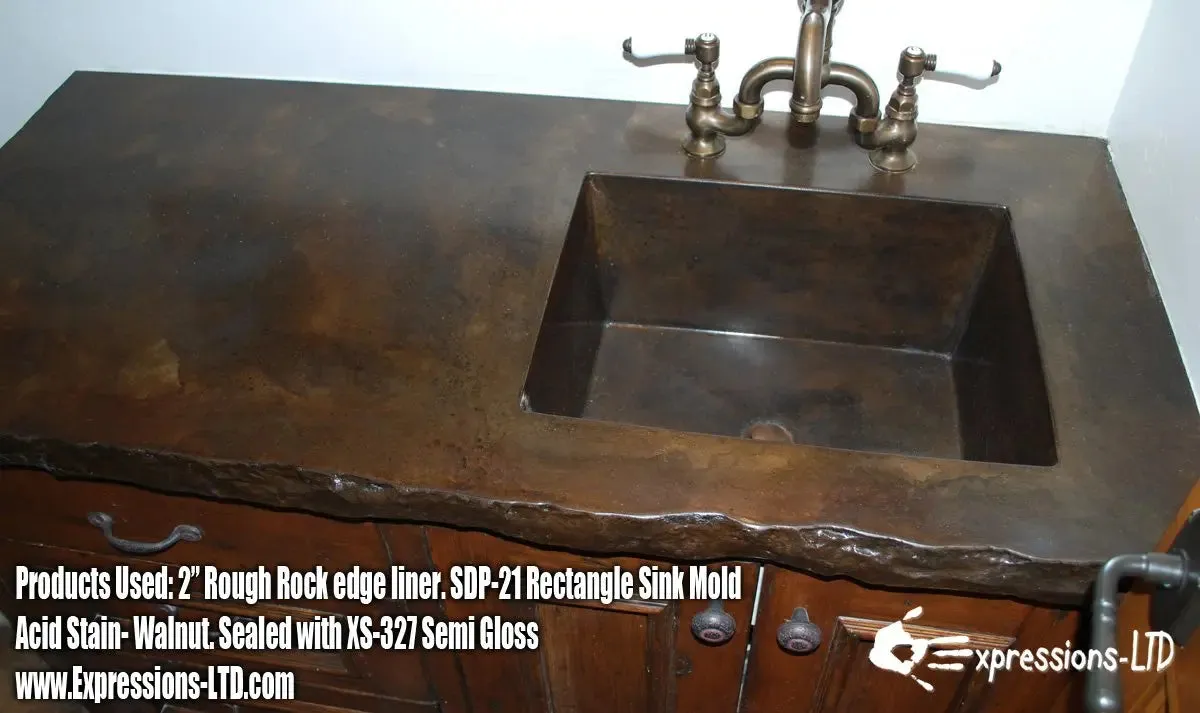
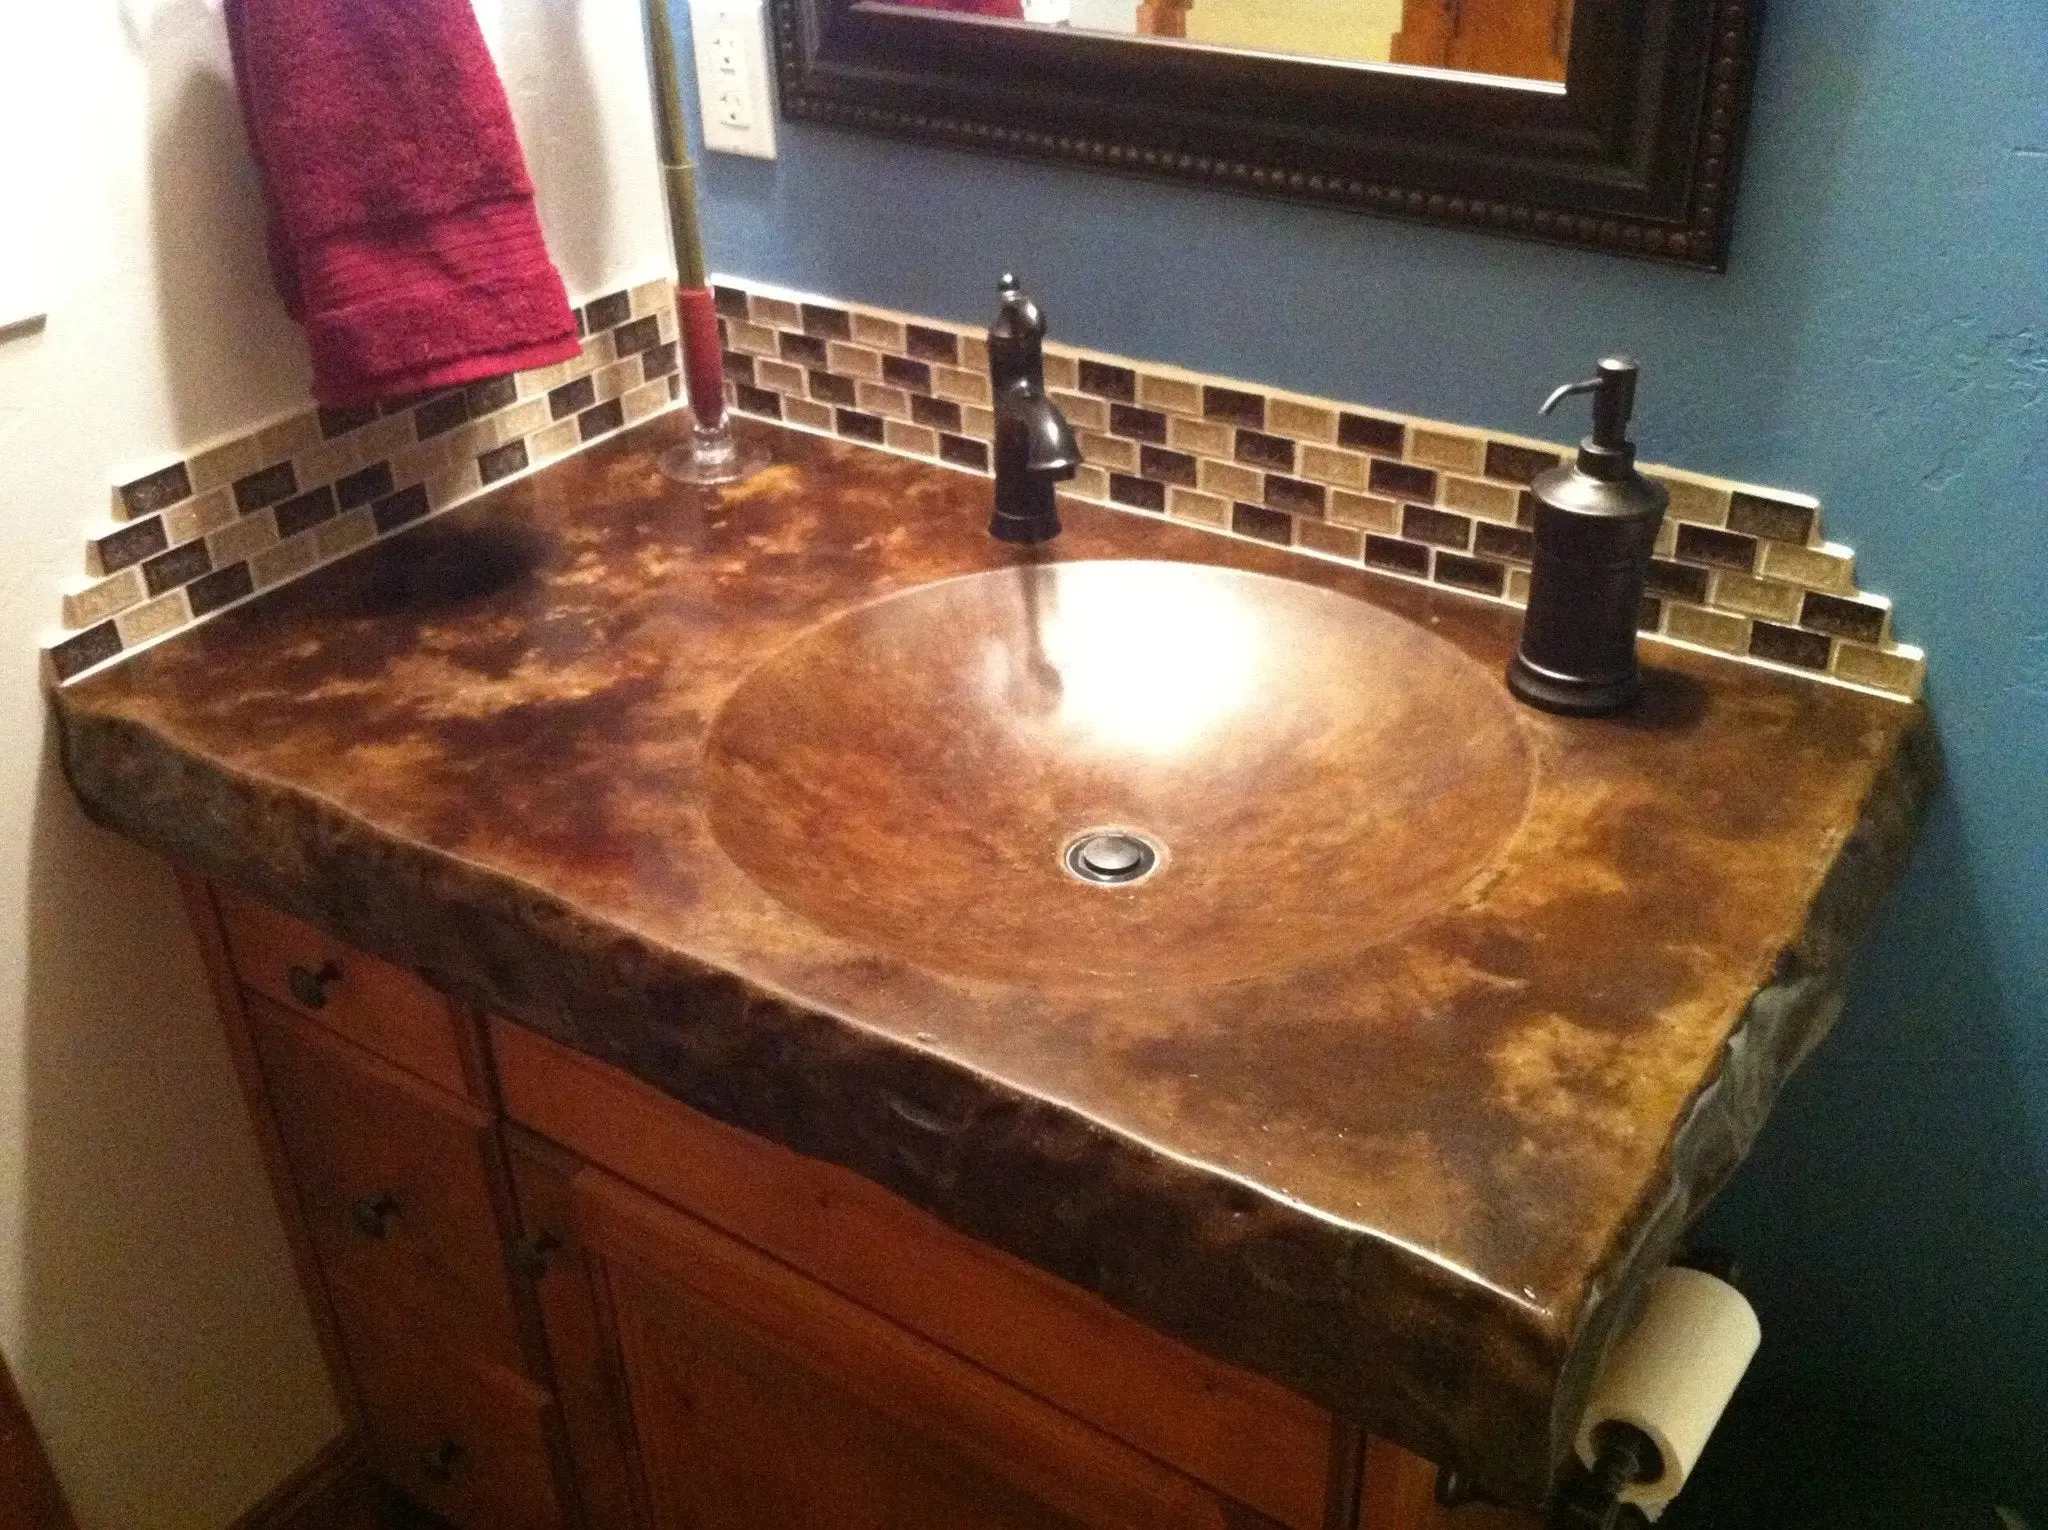
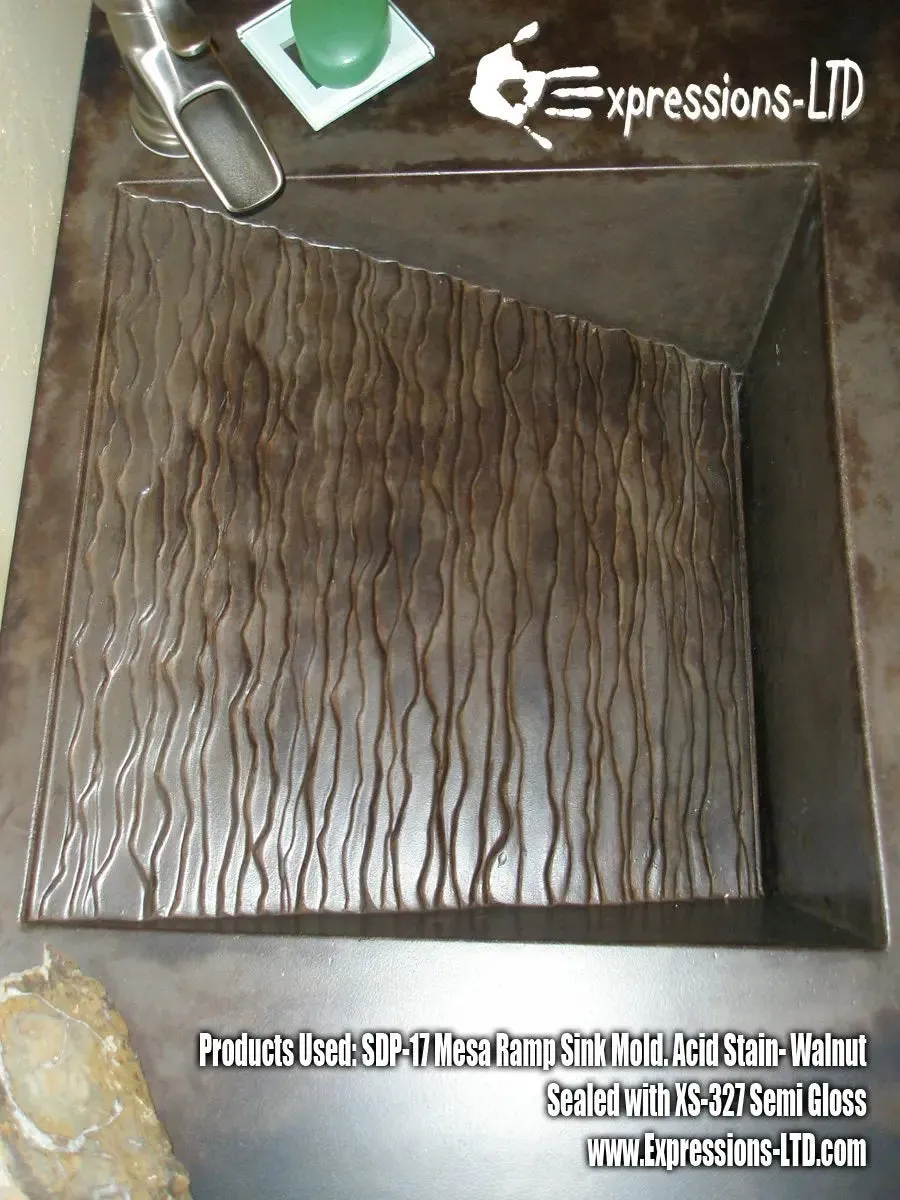
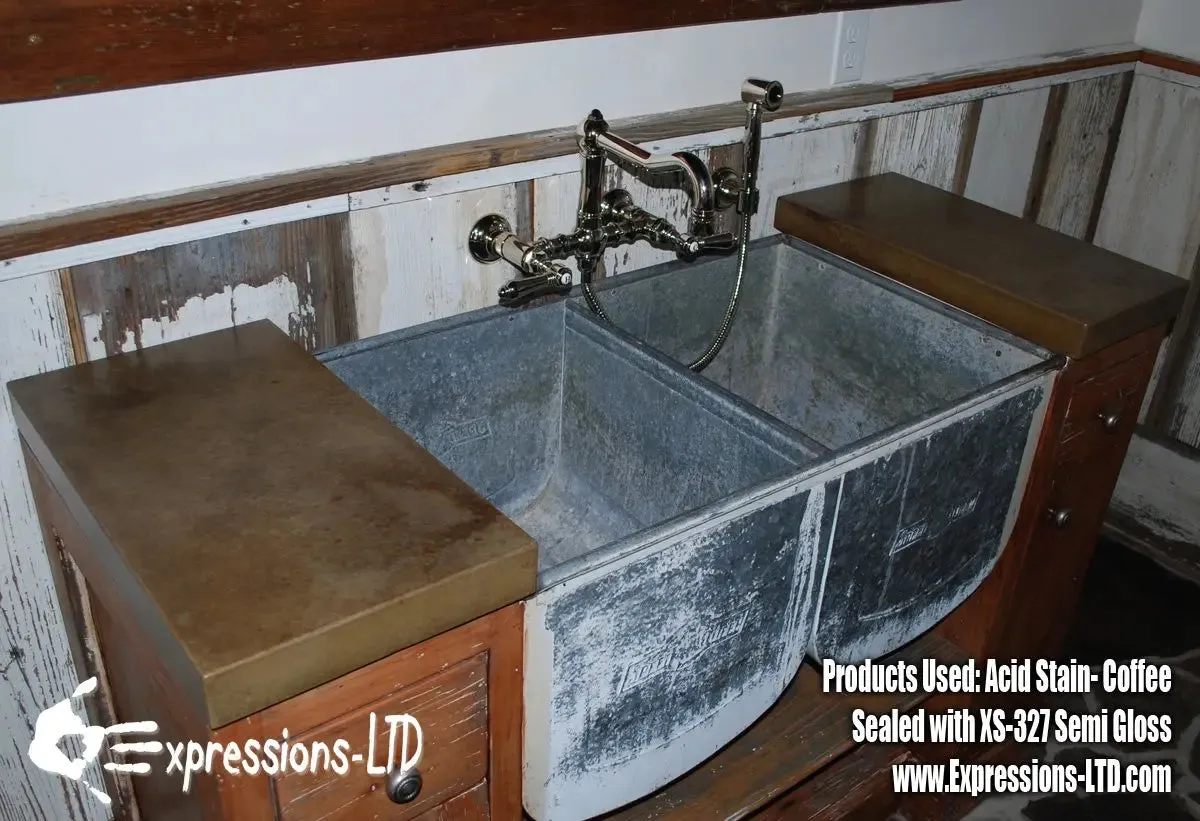
- Enhances surface imperfections producing unique and appealing results on otherwise plain concrete.
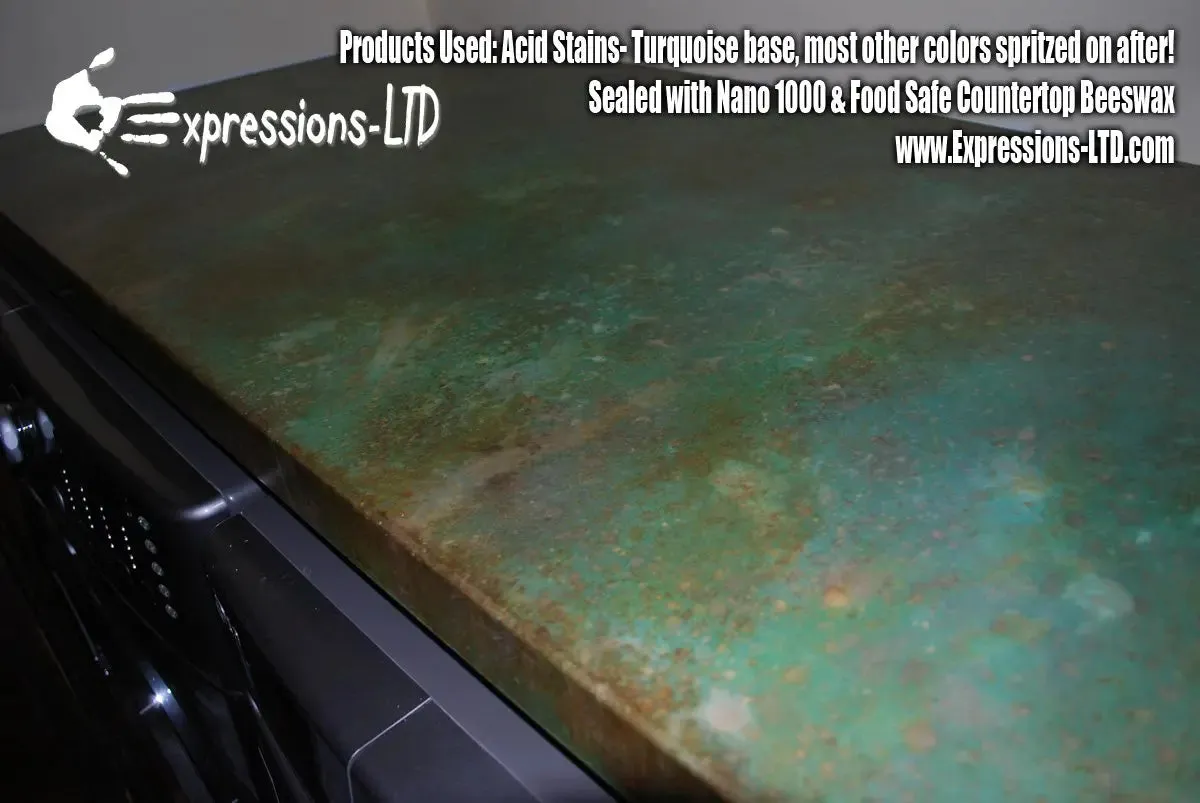
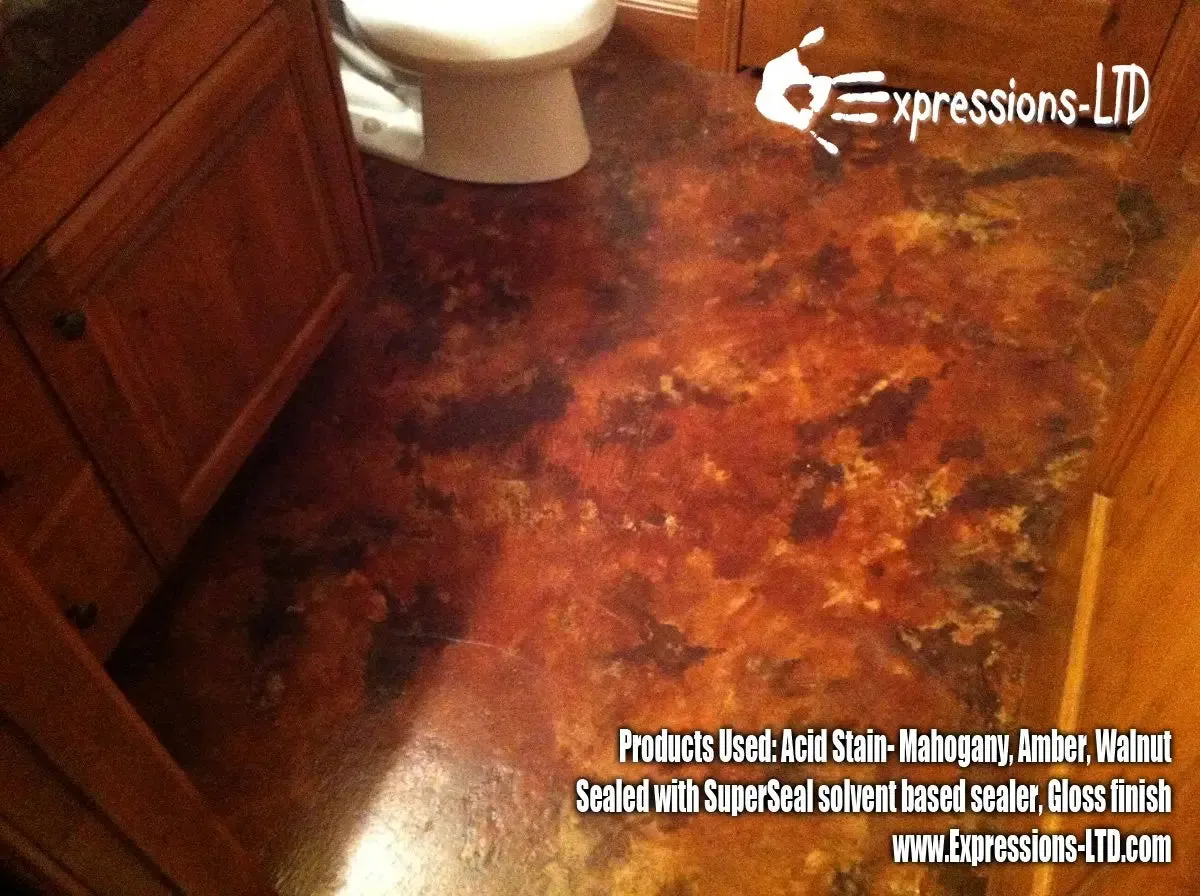
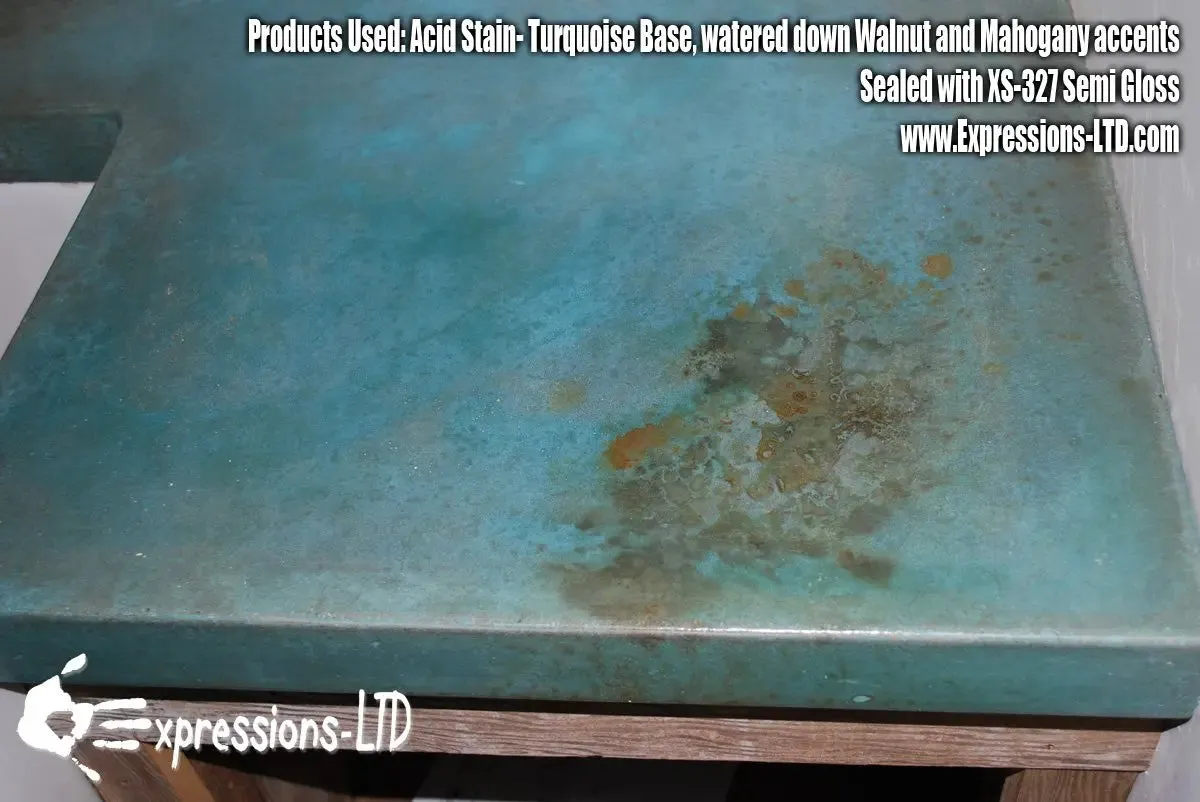
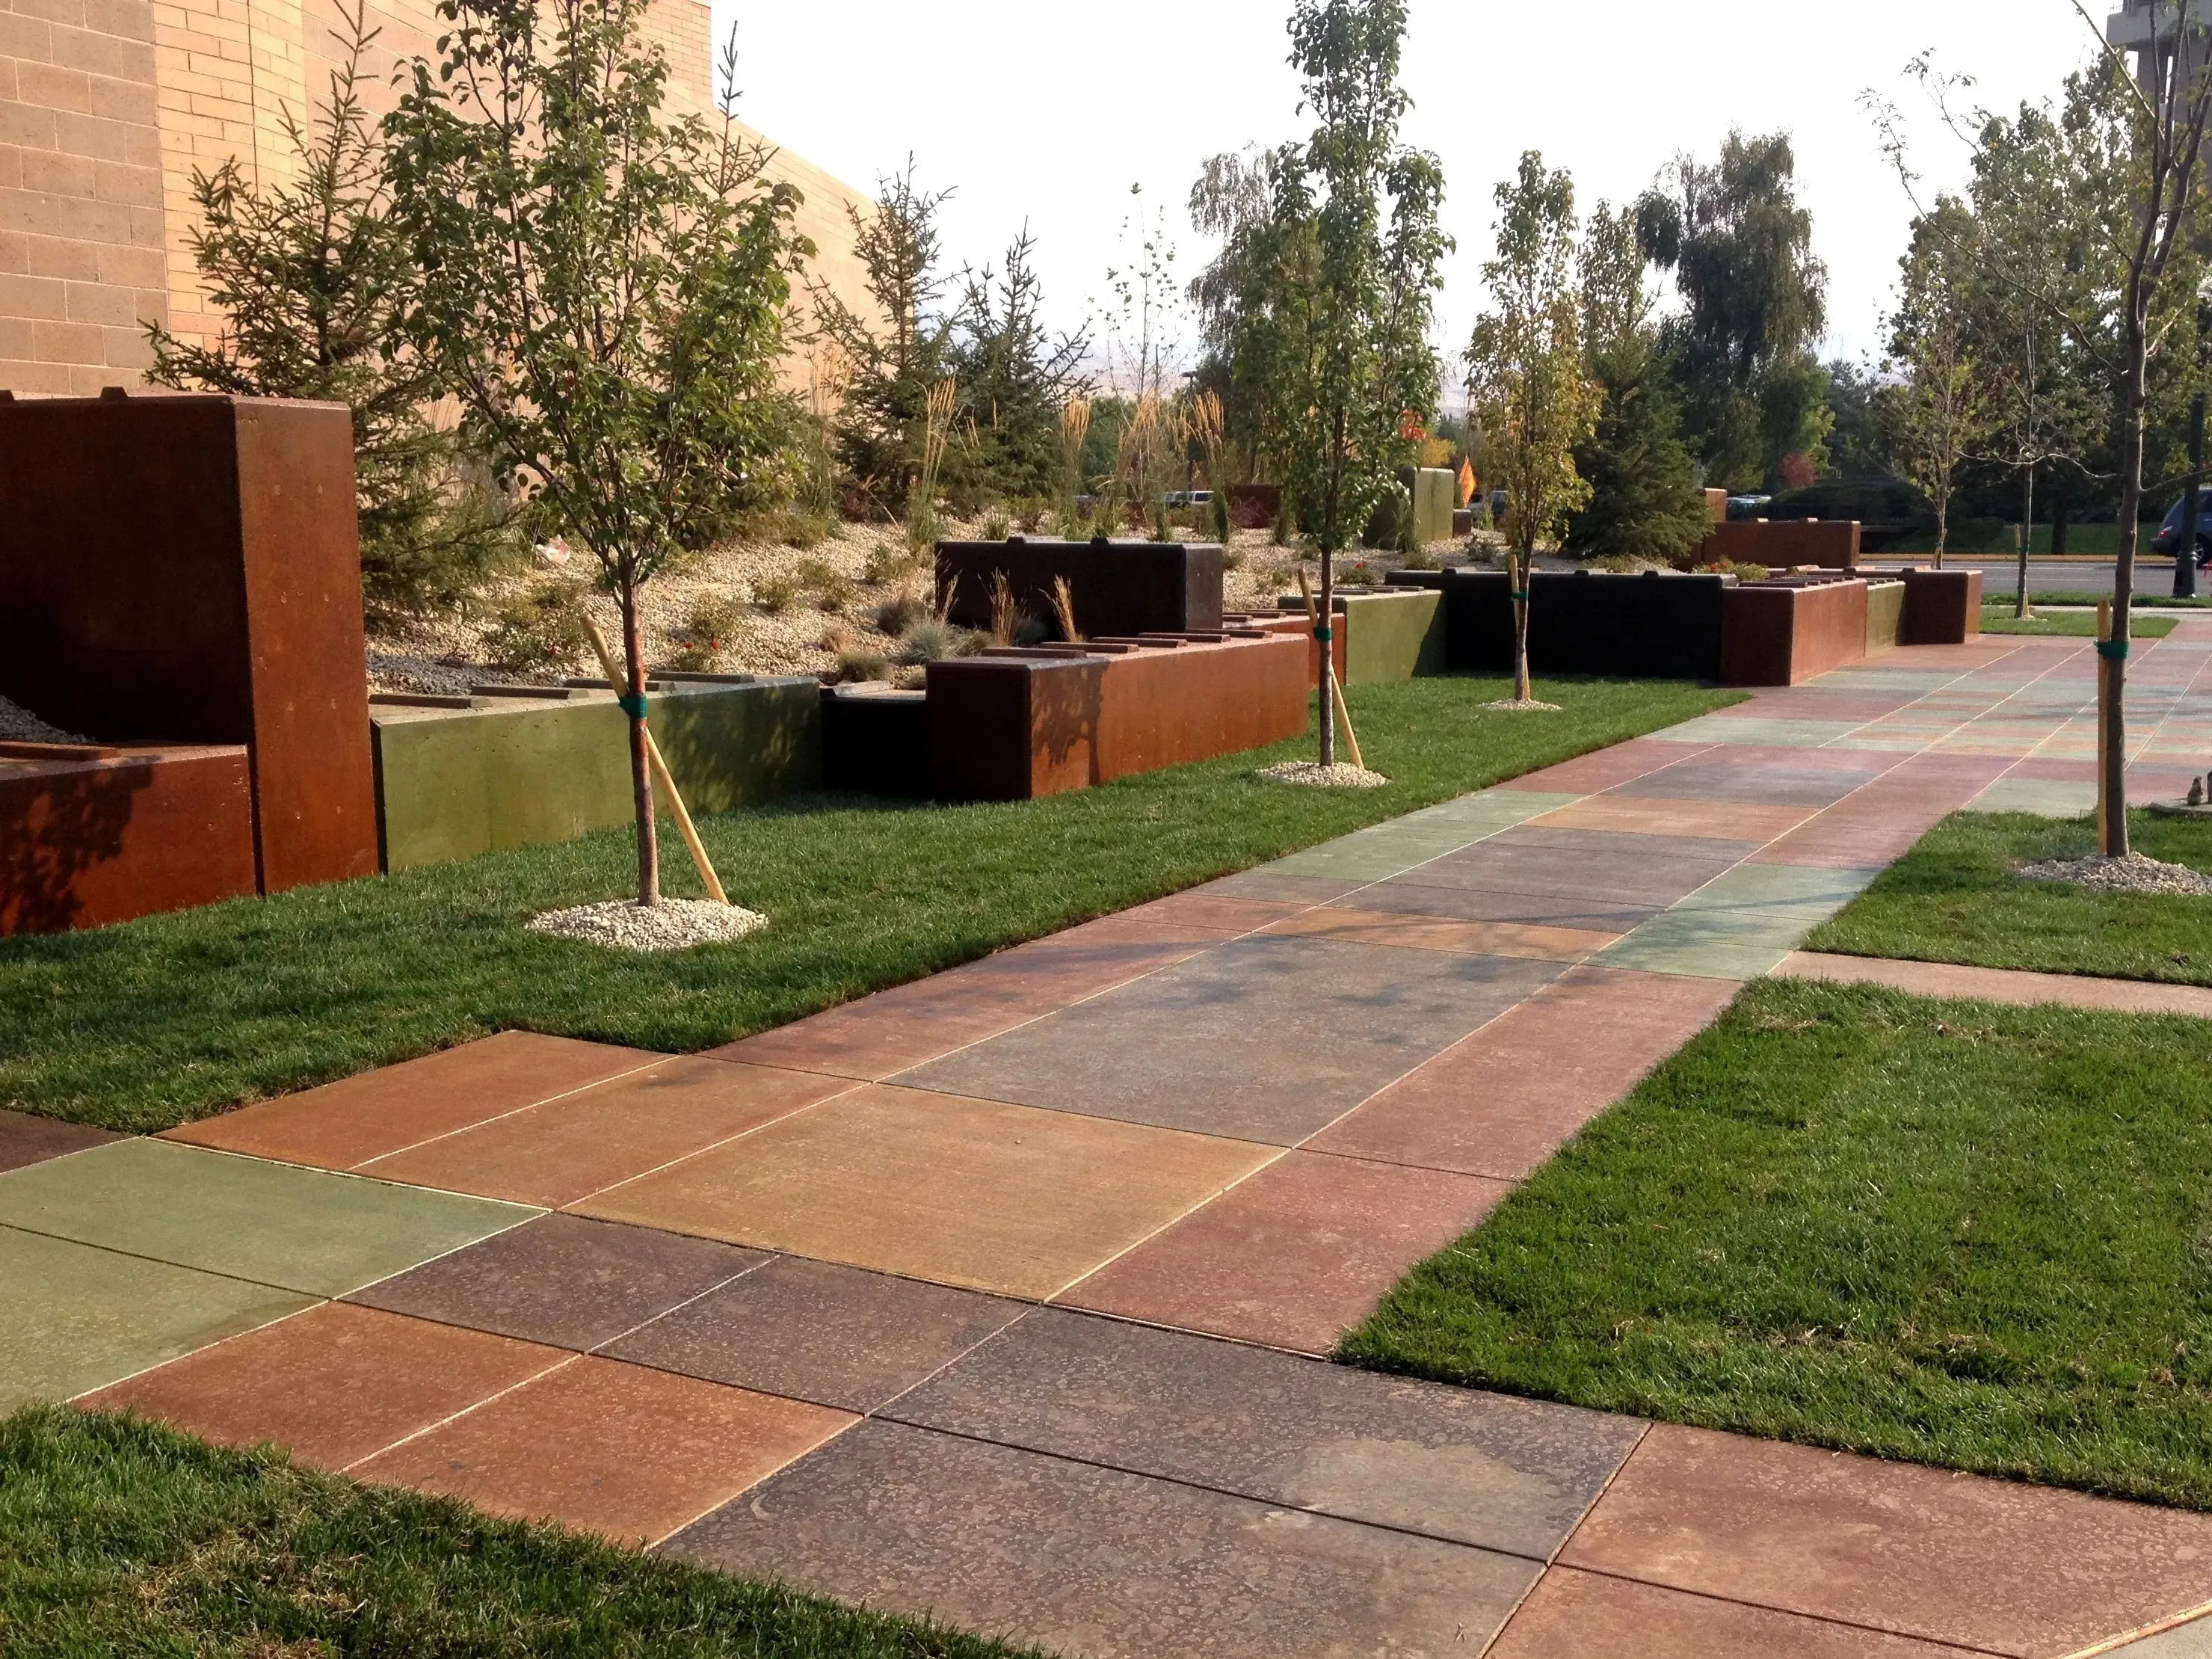
- Stains can be diluted and/or combined for a multitude of finishes (apply lighter color first, then go over it with darker color(s) in pattern of your liking).
- Color samples/pictures only provide a guide- as all concrete is individual and final results depend on a variety of factors.
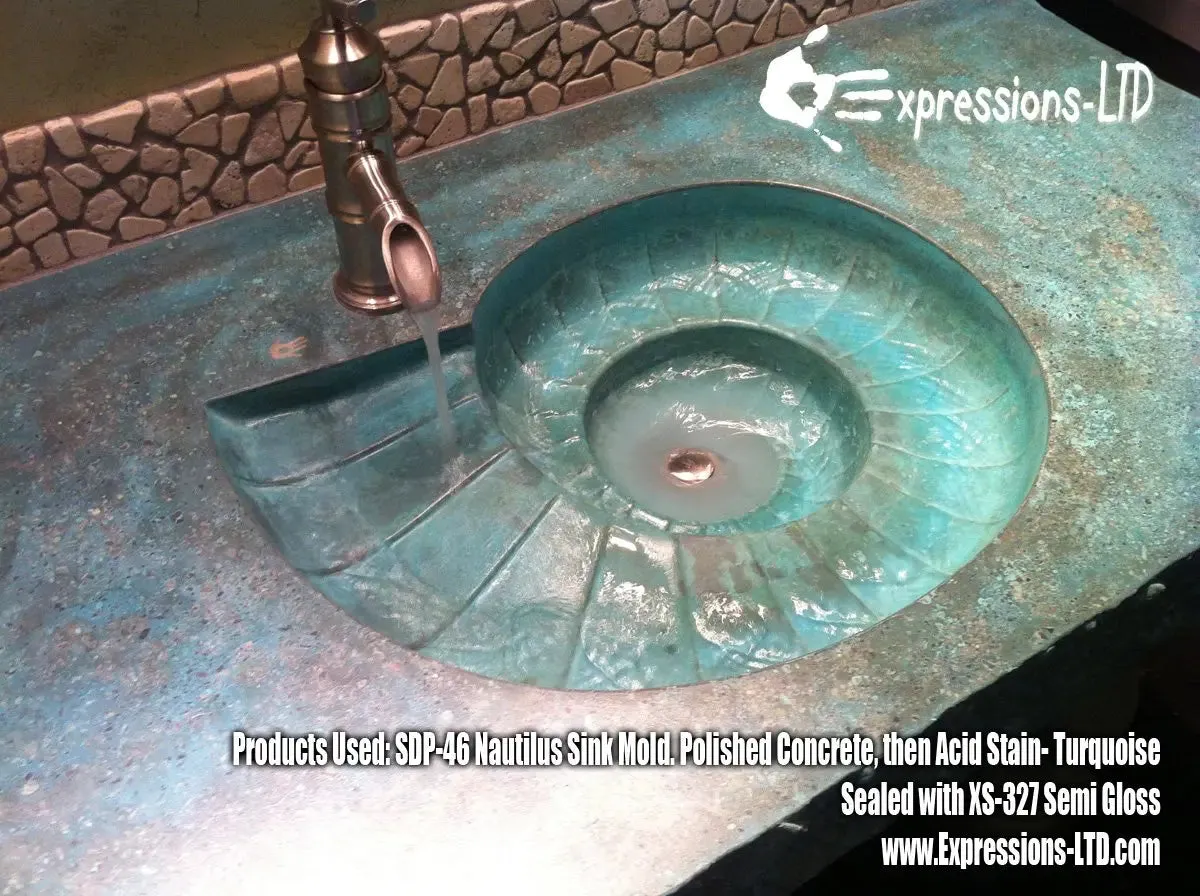
- Blues and greens are highly recommended for indoor use only due to the tendency to darken from long-term exposure to moisture.
- Sold in 4oz Sample Sizes ().
- Coverage: One 4oz bottle will cover approx. 8 sq ft. per coat, undiluted.
- To achieve colors similar to the color charts shown, 2 coats of stain is typical.
- (Technical Data Sheet).
Application Acid Stain for Concrete - Tru Tint (4oz Sample Bottles)
-
Please note that colors shown are a representation of what the final color will look like. Actual color will rely heavily on skill, practice and experimentation. Application methods and age of concrete will affect the color tones and hues.
-
A key factor to successful acid staining is a very clean surface. For best results on floors that are not brand new, un-soiled slabs, the surface should be pressure washed (not too closely, just to clean!) or scrubbed with with water, or if possible using a powered floor buffing machine, but if not, put your back into it!
-
DO NOT use muriatic or hydrochloric acid to 'clean' the surface before staining. This practice is a myth, and will lessen the actual reaction of the acid stain color if you do so.
-
Acid stains can be applied in unlimited ways. Each method has unique characteristics and appearance. If combining colors, apply them either lighter colors first, then go over in areas with darker, or apply side-by-side so the stain colors are wet on the concrete at the same time and will slightly bleed into each other for a great look.
-
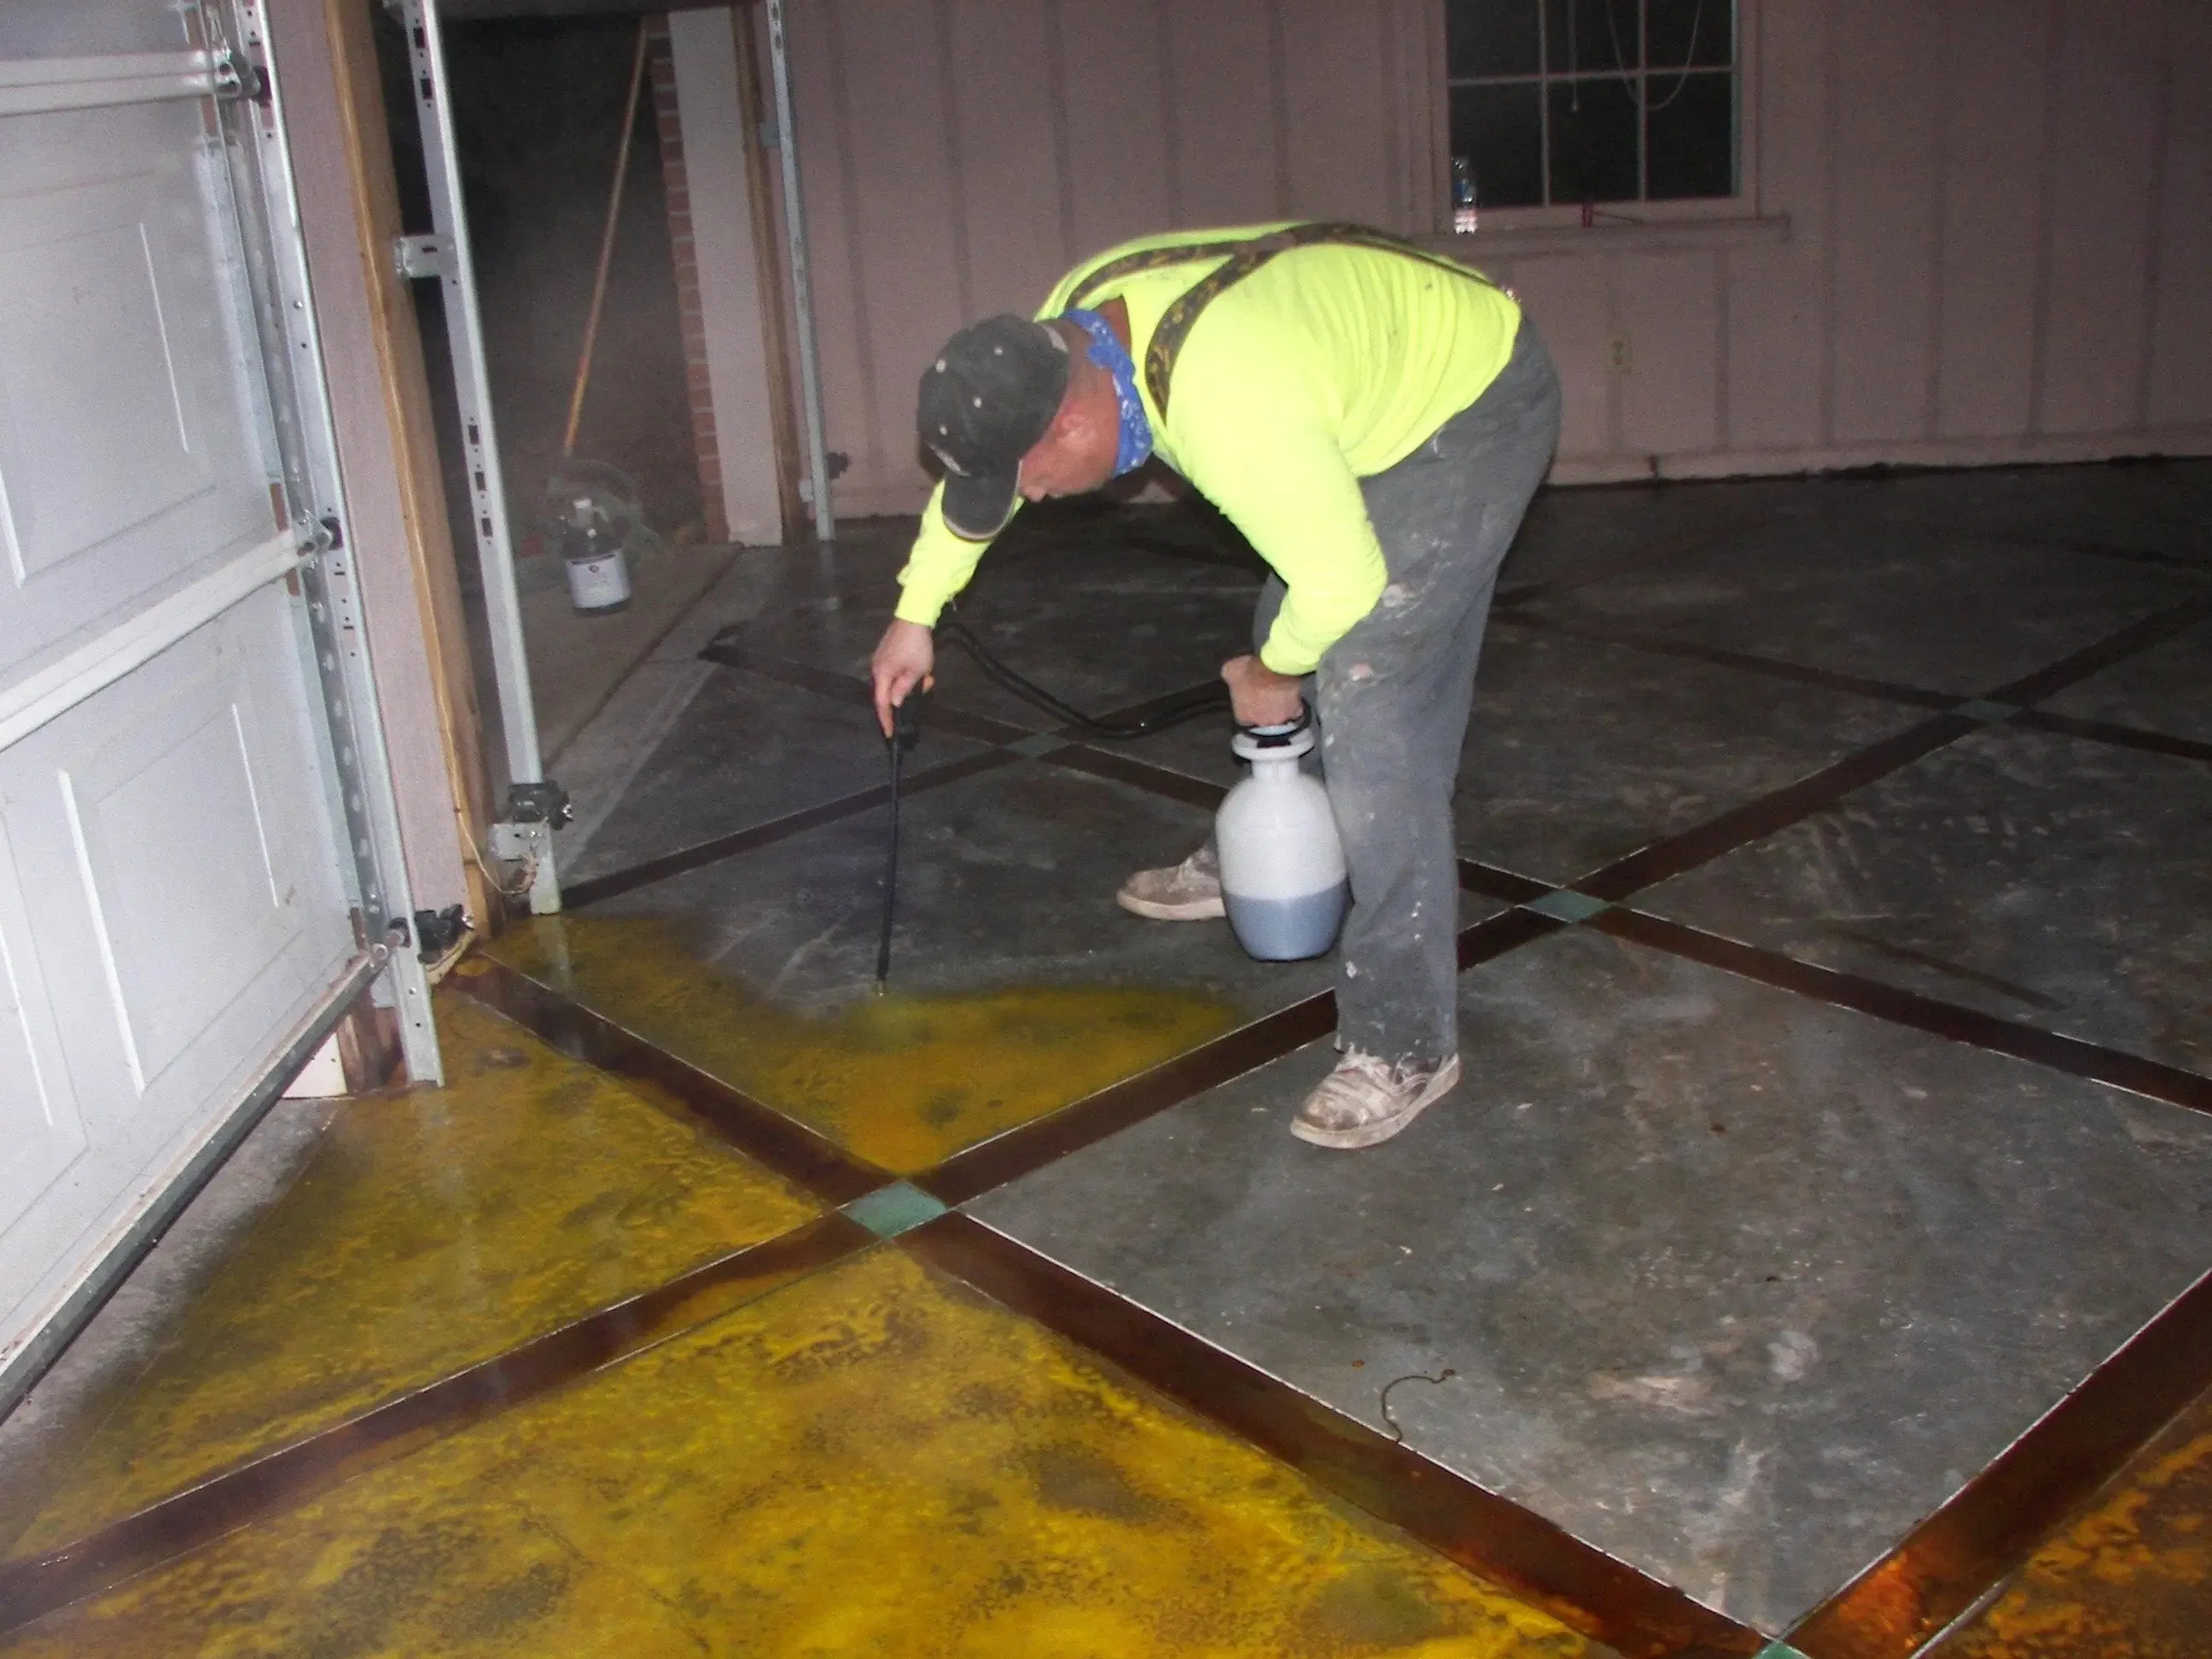
Basic application: Spray or mist the acid stain onto the concrete using a specially designed sprayer for acid, . DO NOT use a sprayer with metal parts when spraying acid, as they will corrode. Immediately brush the surface with a stiff bristle brush or broom. When finished, rinse the sprayer with clean water to remove any acid residue.
-
Alternative applications: Blot acid stain onto concrete using sponges, brushes, or even crumpled plastic or paper bags. There is no limit to the ways stains can be applied.
-
-
Acid stain should be left on the concrete surface 2-12 hours before either applying another coat, or rinsing. Most color will occur in the first 1-2 hours, but longer can help darken the developing color.
-
Apply additional coats as desired, right over the existing residue to deepen the color and patina.
-
Rinse well with clean water, and then neutralize. Improper neutralization and cleaning will result in poor sealer bonding.
-
To Neutralize: 2 cups of household ammonia or bleach mixed with 5 gallons of water, and a few squirts of dish soap. Scrub the concrete using this mixture, using a broom/scrub brush, and mop.
-
Clean up the residue with a wet vacuum, mop or sponge. Thoroughly rinse concrete when done, and allow to dry 1 to 2 days before sealing. For outdoors, seal with . For indoors, seal with .
-
Indoor floors should also look at applying the which is easy to apply and will help protect the sealer and concrete-- and also add a little slip resistance!
One of the most durable and long-lasting materials used in construction today, concrete beautifies and strengthens homes, businesses, and more from the inside out. That’s why, when choosing a concrete coloration product, it’s important to rely on a brand known for quality: Tru Tint Concrete Acid Stain is a versatile, permanent acid concrete stain made to introduce appealing “mother nature-mimicking” hues to patios, floors, and other concrete applications.
Because this formula works via a proven, reliable chemical reaction, it offers a deep, permanent hue unmatched by surface layering and paints. As it works, it highlights natural lines and divots in your concrete surface, elevating plain concrete into something noteworthy and attractive. Dilutable and mixable, Tru Tint Acid Stain can be easily customized to suit your projects, making it ideal for concrete contractors looking to deliver options for their clientele.
How Long does our Acid Stain Last on Concrete? As a permanent concrete coloration product, Tru Tint Acid Stain is made to last as long as the concrete surface is viable - e.g. not cracked, broken, or excessively damaged. Because this superior concrete acid tint relies on a chemical reaction within the concrete itself, the results are exceptionally durable and made to stand the test of time without fading.
DETAILED HOW TO APPLY ACID STAIN ON CONCRETE:
The look of an acid stained concrete surface is attractive for many reasons. Its unique finish characteristics are such that the uneven, ugliness of plain concrete becomes the star of the show. Acid stain will not mask, nor cover imperfections in the concrete, but it will use transform them into something quite attractive. Though professional skills may result in a more professional look, the artistic nature of the process allows the handy DIY’er to achieve a most satisfying look just the same. Just follow some necessary principals and behold the results. Keep in mind this is merely an overview and not detailed instructions. For best results, always reach out to a qualified decorative contractor in your area for your job. Let the experts handle it so you can best enjoy the results.
Getting Started:
To test the absorbency of the particular slab, you need to throw some water down and watch the results. You want steady and even absorption into the surface. Make sure to test the entire slab because you have to be able to remedy inconsistencies. If the water does not absorb steadily and evenly, curing agents or sealers may be blocking the surface, thus they will effect the application of the acid stain and must be removed. For sealer removal, many methods may be employed such as solvents, sanding, and grinding. If you choose grinding, be sure to use a proper disk, such as a grinding cup, to avoid swirl marks which will easily transmit otherwise. In addition, be sure to do a thorough cleaning with a good degreasing cleaner, such as TSP, to remove any grease and oil, paint drops, taping compounds, caulk, or other surface contaminants. If patching is required, know that it will take stain differently than the rest of the floor and will be visible (but better than a hole.) As an option, you may consider sanding the entire floor. It will often accentuate the high spots by opening up the pores even more allowing more stain to penetrate.
Finally, you’ll want to do one last washing to remove the remaining dust and debris. Water, detergent, and then wet vacuum it dry. Any streaks, lines, footprints, etc. can effect the final finish.
Applying the stain:
Manufacturers vary on when to apply stain. Many default to the standard 28 day cure time before staining is to be started. A few say 14 days. Some installers have had success after 3 days.
Keep in mind that the younger the slab, the more intense the color. This means that the older slabs requires a higher strength solution. So, if you’re trying to match stain for new concrete with stain for existing concrete it is going to be extremely difficult to achieve, and we do not advise that you attempt to do so. This also means that product cost can go down significantly when staining new concrete because of the ability to dilute the solution more freely.
The actual application method can also alter the look, so have a plan in mind there. A sprayer is most common and you have to be sure to have an acid approved sprayer. Acid eats metal so no metal parts. Inspect carefully! Tips that produce a circular pattern give the most consistent results and allow for less “marking” of the spray pattern. When spraying, follow up with scrubbing it in with a medium bristle brush to ensure more even penetration. Some choose to let it remain on the surface resulting in a more splotchy appearance. A light follow up spray will remove any brush markings. This can be done with another color to achieve a more mottled look. An other option is to use water. Water can be used before the acid goes down giving you a more diluted look in areas (as long as you are not scrubbing away most of the differential). You can also add water after it is down to create a more “fluid” look to the surface. Some installers have even used solvents such as mineral spirits to alter the drying pattern of the water to achieve some dramatic results. Of course, beauty is in the eye of the beholder and acid staining is a prime example. Stains may be applied by paintbrush but care must be taken to minimize brush marks, and this method is usually reserved for small areas. Rollers are the same except provide even more challenges due to the lines they create. However, there is one installer in particular that used a roller to create a check pattern on a pre-wet floor and which resulted in a one-of-a-kind “liquid checkerboard” which garnered high creative praise.
However you choose to apply your stain, bear in mind that over spray, splashes, spots, etc. can be impossible to remove from unintended places. Carefully mask off anything and everything you do not want ruined before starting. Lastly, do not discount the power of color. Even a very diluted (5%) acid solution can produce a noticeable, yet subtle color effect to plain concrete.
If saw cuts or stencils are in the plan be sure to plan out the desired look. Cuts can take a different look depending on pre- or post- stain. If you want a more even look, cut after because the stain will darken the more exposed concrete near the cuts more intensely. If the lines will serve as a distinction from one color to the next, cut first as it will keep color separated easier than other barrier methods that may bleed such as tape.
When you are finished staining and it has had significant time to take effect and dry, you can neutralize and clean. A good scrubbing with water and baking soda, or ammonia, followed by removing residue with a wet vac is a good regimen. Follow up with several good moppings with clean water until wiping the floor with a white t-shirt comes up clean and you are good to go.
Sealing and preserving your finish is equally important to your prep and staining. Most issues with stained concrete that occur after application revolve around sealer failure or lack of sealer maintenance. High traffic coupled with no maintenance can show wear in no time. Be sure to use a high quality, appropriate sealer or coating to ensure a long and lustrous life to your work of art.


